
How to Use the Ryobi Precision Electric Screwdriver - Effortless
Learn to tackle intricate repairs on laptops, drones, glasses, and more with the new Ryobi MICROTECH Precision Electric Screwdriver set. This guide walks you through setting up and effectively using this versatile tool for all your small fastening needs.
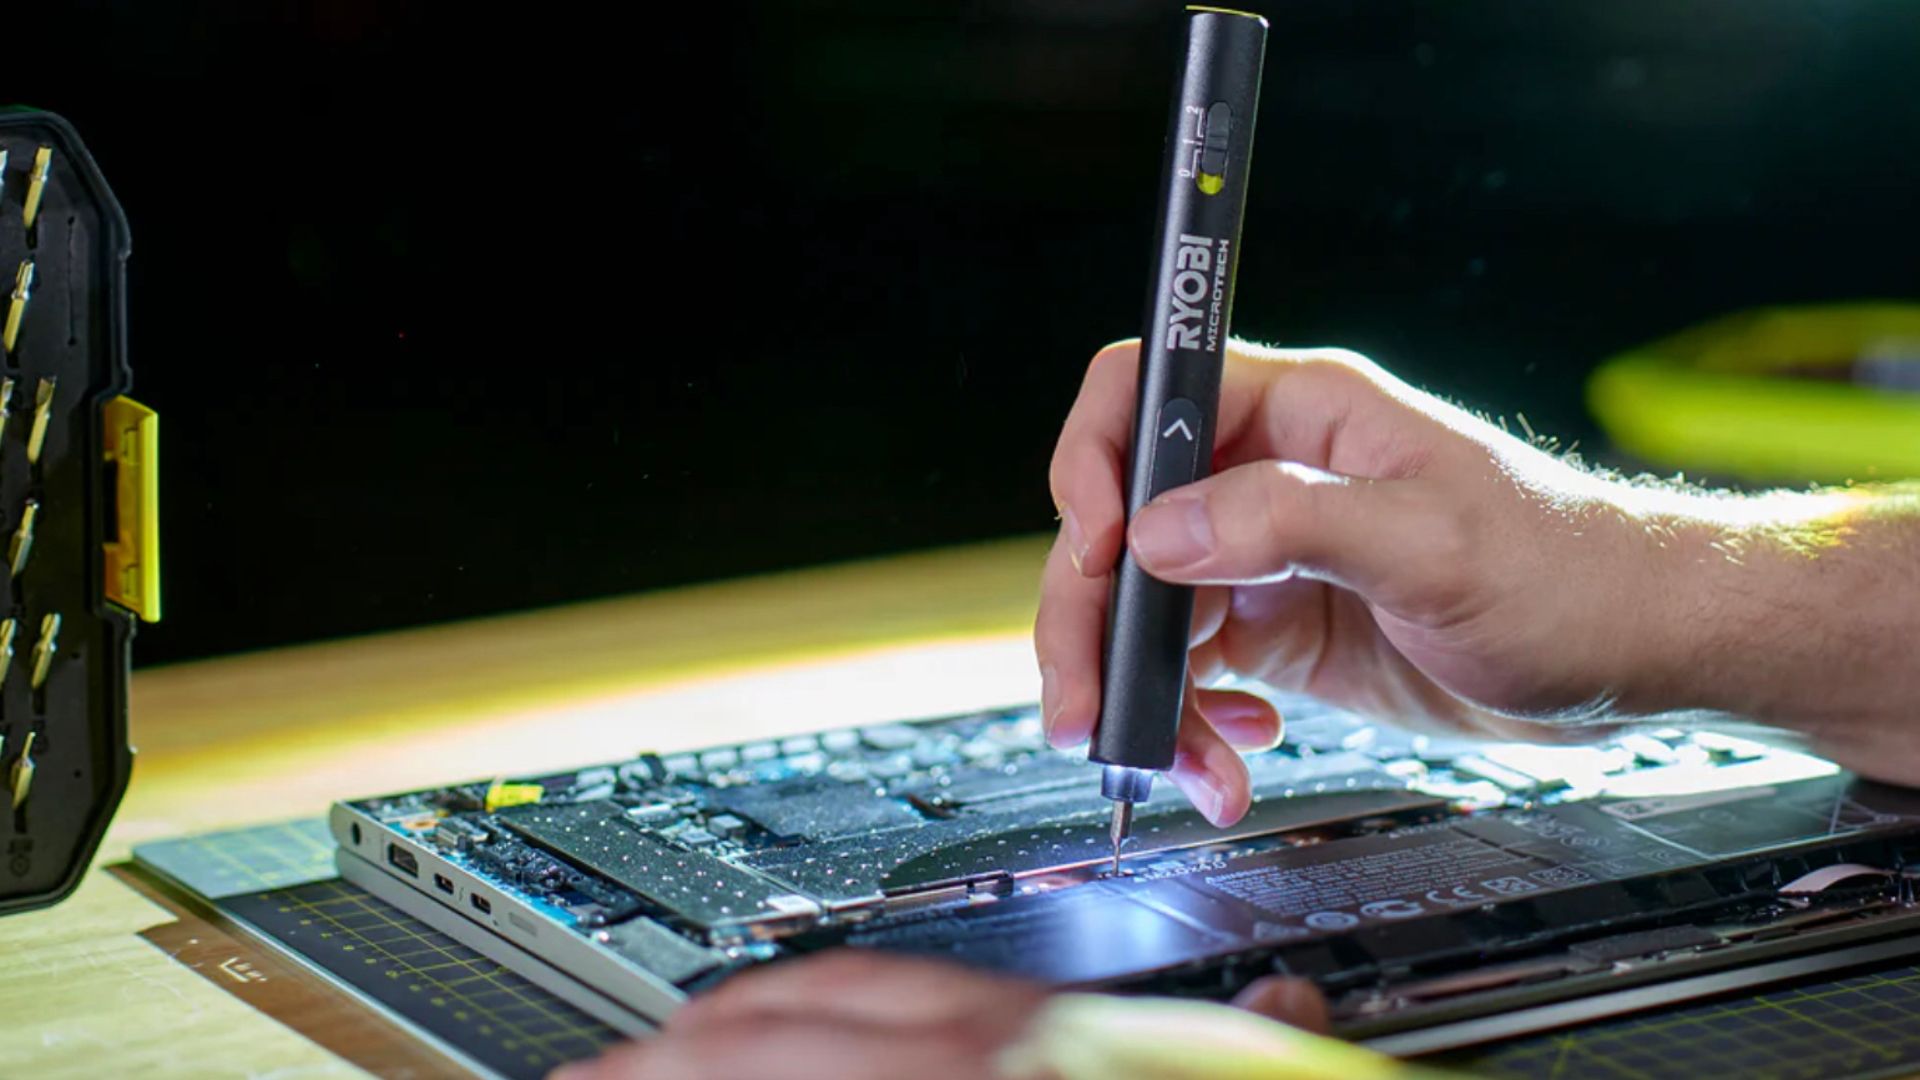
Dealing with minuscule screws on your favorite gadgets, from laptops and drones to glasses, often feels like a giant challenge. Traditional manual screwdrivers can be cumbersome, and finding the right size bit for every tiny fastener can be frustrating. Thankfully, Ryobi, known for its extensive 18V ONE+ tool line, has introduced a game-changer for precision tasks: the new Ryobi MICROTECH Electric Precision Screwdriver set.
This innovative kit isn't just another set of micro tools; it's an electric solution designed for unparalleled control and accuracy. With a vast array of bits and thoughtful features, it promises to make intricate repairs and adjustments simpler and more efficient. Whether you're a tech enthusiast, a hobbyist, or just someone who needs to tighten a loose screw on their eyeglasses, this guide will walk you through everything you need to know to get the most out of your new precision tool.
What You'll Accomplish
By following this guide, you'll learn how to effectively set up, operate, and troubleshoot your Ryobi MICROTECH Electric Precision Screwdriver. You'll gain the confidence to tackle a wide range of precision repairs on electronics, small appliances, and household items, ensuring your gadgets are always in top working order.
Prerequisites
To begin, you will only need one essential item:
- The Ryobi MICROTECH Electric Precision Screwdriver Set: This comprehensive kit includes the screwdriver, over 50 bits and accessories, extensions, handheld tools, and a compact carrying case.
Getting Started: Unboxing and Initial Charge
Your journey to effortless precision starts the moment you unbox your new Ryobi MICROTECH set.
- Unpack Your Kit: Carefully remove all components from the packaging. You'll find the electric screwdriver itself, the compact carry case, and various accessories within the case.
- Familiarize Yourself with the Case: The small carry case is thoughtfully designed to hold all your bits and accessories. Notice the neat integrated screwdriver storage slot in the hinge, which keeps the entire package organized and portable. Also, locate the built-in magnetization zone within the case, a clever feature we'll discuss later.
- Charge Your Screwdriver: Before its first use, ensure your electric precision screwdriver is fully charged. The Ryobi MICROTECH is conveniently USB-C rechargeable. Connect a standard USB-C cable to the tool and a power source. An indicator light will typically show when charging is in progress and when it's complete, ensuring it's ready for your first repair task.
Mastering Your MICROTECH: A Step-by-Step Guide
Now that your screwdriver is charged and you're familiar with the kit's components, let's dive into using it for precision tasks.
Step 1: Prepare Your Workspace
Before beginning any repair, create an organized and well-lit workspace. Clear away clutter to avoid misplacing tiny screws or bits. Consider using a mat or a tray to keep small components from rolling away. Good lighting is crucial for precision work, though the Ryobi tool's built-in LED lighting will also assist.
Step 2: Select the Perfect Bit
The Ryobi MICROTECH kit boasts over 50 different bits and accessories, making it versatile enough for nearly any small fastening job. Whether you're working on a laptop, a drone, or glasses, you'll find the right fit.
- Identify the Screw Type: Examine the screw you need to remove or install. Determine if it's a Philips, Torx, Pentalobe, Flathead, or another specialized type.
- Choose the Correct Size: From the extensive collection in your carry case, select the bit that perfectly matches the screw head. A snug fit is essential to prevent stripping the screw.
- Utilize Extensions: For screws that are deeply recessed or hard to reach, the kit includes extensions. Attach an extension to the screwdriver first, then secure your chosen bit to the end of the extension.
Step 3: Magnetize Your Bit for Optimal Control (Optional, but Recommended)
The carry case features a built-in magnetization zone. This is a handy feature that significantly improves screw pickup and control.
- Place Bit on Zone: Gently press the tip of your selected bit onto the magnetization zone for a few seconds.
- Test Magnetism: The bit will now have a temporary magnetic charge, allowing it to hold onto small screws, preventing them from dropping and getting lost, especially when working in tight spaces.
Step 4: Insert and Secure the Bit
The Ryobi MICROTECH features a magnetic collet, making bit changes quick and effortless.
- Insert the Bit: Push the chosen bit (or extension with bit attached) firmly into the magnetic collet at the tip of the screwdriver until it clicks or feels securely seated.
- Verify Security: Give the bit a gentle tug to ensure it's firmly held by the magnetic collet before you begin your task.
Step 5: Choose Your Speed and Direction
This electric precision screwdriver offers two speed modes, a manual mode, and intuitive forward/reverse buttons, giving you unparalleled control.
- Select Speed Mode: For delicate tasks or when dealing with very fragile components, start with the lower speed mode. For general fastening or loosening, the higher speed mode can be used. Experiment to find what feels most comfortable and controlled for your specific task.
- Choose Direction: Use the clearly marked forward (tighten) and reverse (loosen) buttons located on the tool's durable anti-roll casing. Ensure you select the correct direction before applying power.
- Manual Mode: For extremely sensitive screws or when you need to start/finish by hand, you can use the screwdriver in manual mode, turning it like a traditional screwdriver. The electric motor will disengage when not powered.
Step 6: Execute the Repair with Precision
With your bit selected and secured, and your mode chosen, you're ready to perform the repair.
- Position the Screwdriver: Place the tip of the bit squarely into the screw head. The screwdriver's small, balanced, and easy-to-hold design, coupled with its anti-roll casing, aids in steady positioning.
- Activate LED Lighting: The built-in LED lighting on the magnetic collet illuminates your workspace, ensuring you have clear visibility of the screw, even in dimly lit areas.
- Apply Gentle Pressure: Press the forward or reverse button. The high-precision torque up to 0.2 Nm and 200 RPM are ideal for small fasteners. Let the electric power do the work; avoid excessive force.
- Targeted Use Cases: This single electric screwdriver is designed to do it all, from repairing laptops, computers, phones, cameras, game controllers, and drones to working on toys, RC cars, watches, and glasses. It even comes with additional bits suitable for larger jobs around the house, like light switches.
Step 7: Utilize Handheld Accessories
The kit isn't just about bits and the screwdriver; it also includes several helpful handheld accessories.
- Tweezers: Use the included tweezers for picking up and placing tiny screws, small wires, or delicate components. Their fine tips are essential for intricate work.
- Mini Pry Bar: The mini pry bar is perfect for gently opening cases, separating glued components, or lifting delicate connectors without causing damage.
Step 8: Clean Up and Store
Once your repair is complete, ensure everything is neatly put away to maintain the longevity and organization of your kit.
- Remove Bit: Detach the bit from the screwdriver.
- Demagnetize (Optional): If you don't want the bit to remain magnetized, you can use a demagnetizer or simply rub it against a larger metal object.
- Organize Bits: Return all bits and accessories to their designated slots in the compact carry case.
- Store Screwdriver: Place the electric screwdriver in its integrated storage slot in the case's hinge. This keeps the entire package as small and portable as possible.
Troubleshooting Common Issues
Even with the best tools, you might encounter minor hiccups. Here are some common issues and their solutions:
- Screwdriver Not Turning On/Working:
- Check Charge: Ensure the screwdriver is fully charged. Connect it to a USB-C power source to verify.
- Bit Seating: Make sure the bit is fully inserted and secured in the magnetic collet.
- Screw Not Loosening/Tightening:
- Incorrect Bit: Double-check that you are using the correct bit type and size for the screw. An ill-fitting bit can strip the screw.
- Manual Mode: If the screw is extremely tight or stuck, switch to manual mode and apply a bit more controlled, gentle force by hand, ensuring the bit remains seated.
- Direction: Verify you've selected the correct forward (tighten) or reverse (loosen) direction.
- Losing Tiny Screws:
- Magnetize: Always use the built-in magnetization zone on the case to magnetize your bit before handling screws.
- Work Surface: Work over a clean, flat surface, preferably one with a lip or a magnetic mat, to catch any dropped screws.
Tips for Best Practices
To ensure optimal results and extend the life of your Ryobi MICROTECH Precision Electric Screwdriver:
- Always Use the Right Bit: This cannot be stressed enough. Using the wrong bit is the fastest way to strip a screw.
- Start Slow: For new or delicate tasks, begin with the lower speed mode to maintain maximum control.
- Gentle Pressure: Let the tool's precision torque do the work. Avoid excessive downward pressure, which can damage screws or components.
- Organize Components: When disassembling, keep screws and parts organized. Consider drawing a diagram or using a magnetic mat to remember where each screw came from.
- Regular Charging: Keep your screwdriver charged, especially before a big project, to ensure consistent performance.
- Cleanliness: Keep the tool and bits clean to prevent debris from affecting their performance or damaging sensitive electronics.
Next Steps
With your Ryobi MICROTECH Electric Precision Screwdriver, you're equipped to tackle a vast array of small repairs. Continue honing your skills by exploring online repair guides for specific devices. Consider expanding your toolkit with other specialized Ryobi products or delving into more advanced electronics projects. The possibilities for precise and efficient work are now endless!
FAQ
Q: What types of repairs is the Ryobi MICROTECH Electric Precision Screwdriver best suited for?
A: This screwdriver is ideal for delicate and intricate tasks on small electronics and gadgets. Ryobi specifically suggests its use for repairing or working on laptops, computers, phones, cameras, game controllers, drones, toys, RC cars, watches, and glasses. It also includes bits for general household precision tasks like light switches.
Q: How do I charge the Ryobi MICROTECH Electric Precision Screwdriver?
A: The screwdriver is designed for convenient and quick recharging via USB-C. Simply connect a standard USB-C cable to the tool's charging port and plug the other end into a compatible USB power source.
Q: Can I magnetize the screwdriver bits to prevent losing tiny screws?
A: Yes, absolutely! The Ryobi MICROTECH kit's carry case features a built-in magnetization zone. By pressing the tip of your chosen bit onto this zone for a few seconds, it will temporarily become magnetized, helping you pick up and hold onto small screws more easily.
Related articles
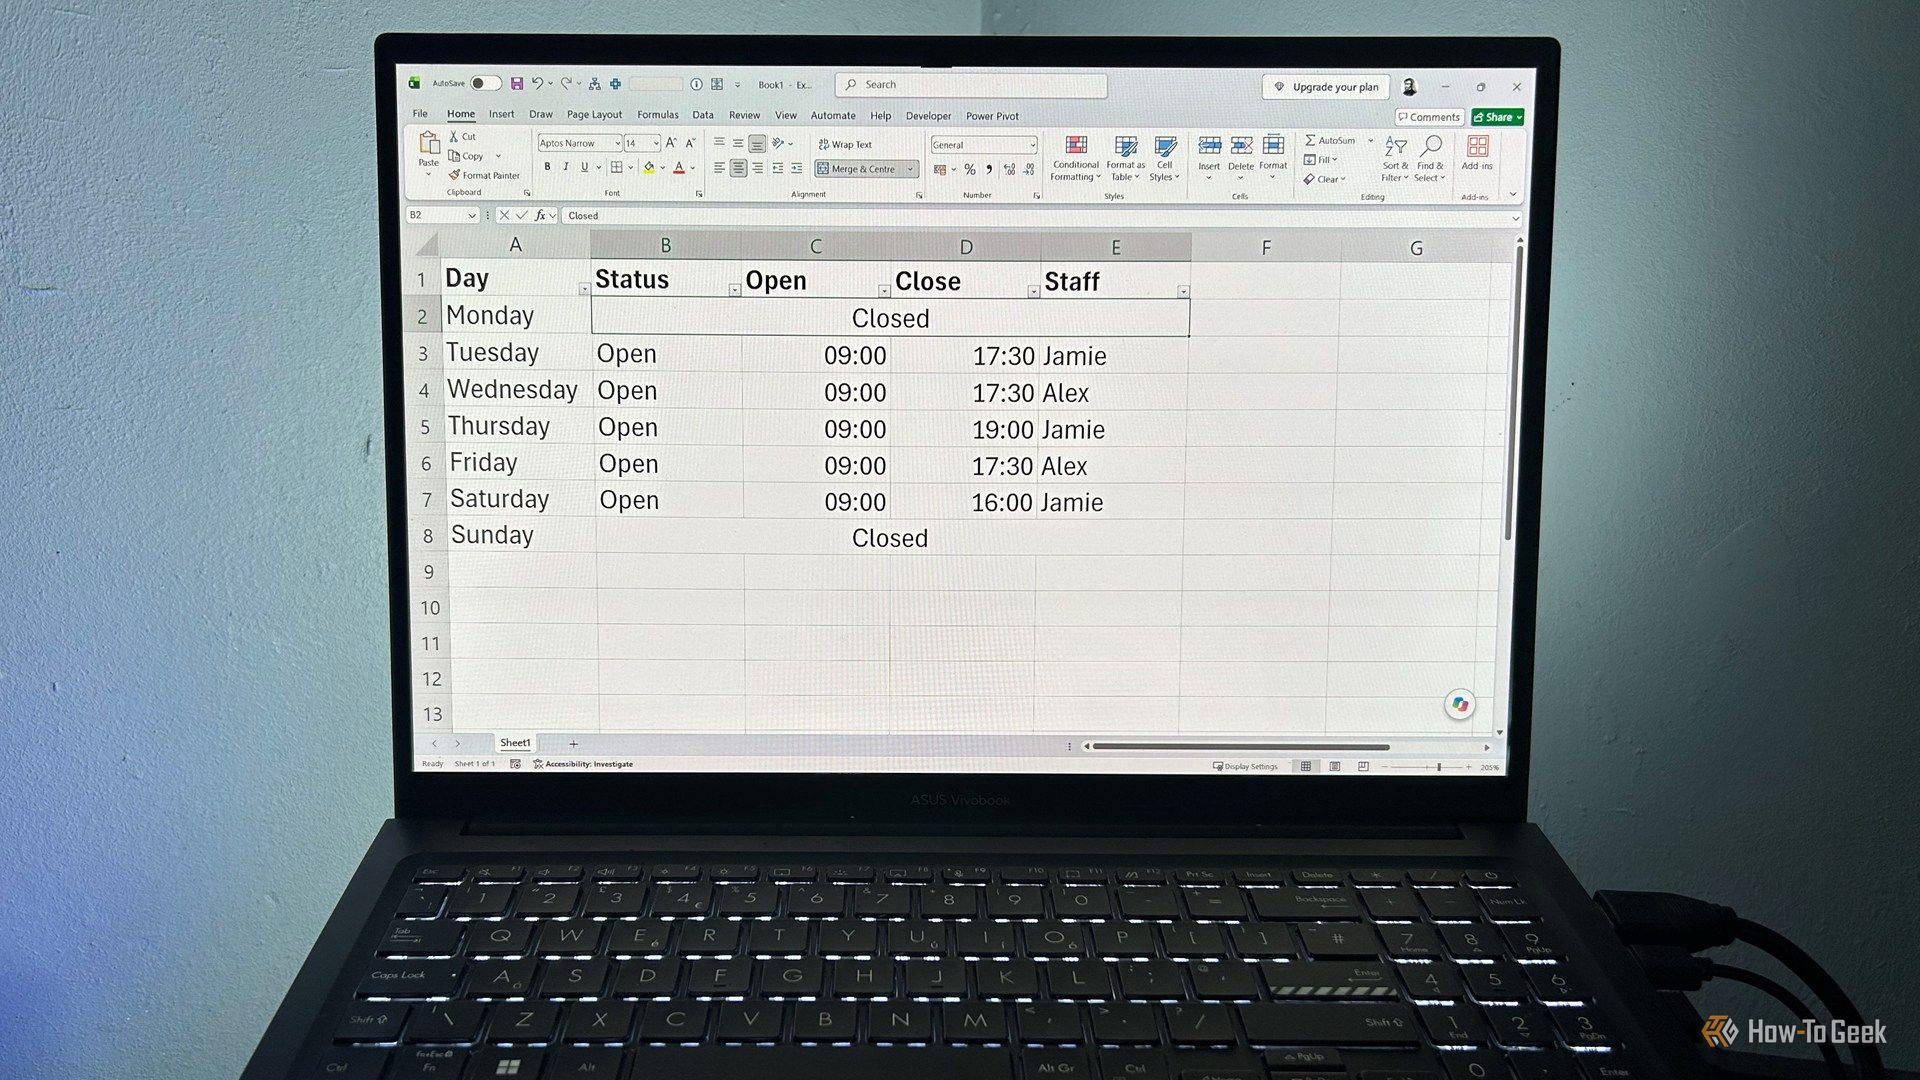
Ditch Merge & Center: The Better Way to Align Text in Excel
Learn to use Excel's "Center Across Selection" to align text across cells without merging, avoiding common data manipulation issues. This guide provides steps to utilize this newly accessible feature and add it to your Quick Access Toolbar.

Tesla Unveils Thruster-Equipped Roadster, 2028 Production Targeted
Tesla has unveiled its second-generation Roadster, featuring cold-gas thrusters co-developed with SpaceX, enabling it to jump and flip. The electric sports car demonstrated 0-60mph in an astonishing 0.81 seconds, with production targeted for 2028. This highly anticipated reveal also serves as a key recruitment tool for Tesla's ambitious AI and robotics initiatives.

Stop Android Auto Battery Drain: Essential Features to Disable and
Android Auto offers unparalleled convenience, bringing your phone's most useful features directly to your car's display. From navigation and calls to messages and music, it keeps you connected without distracting you
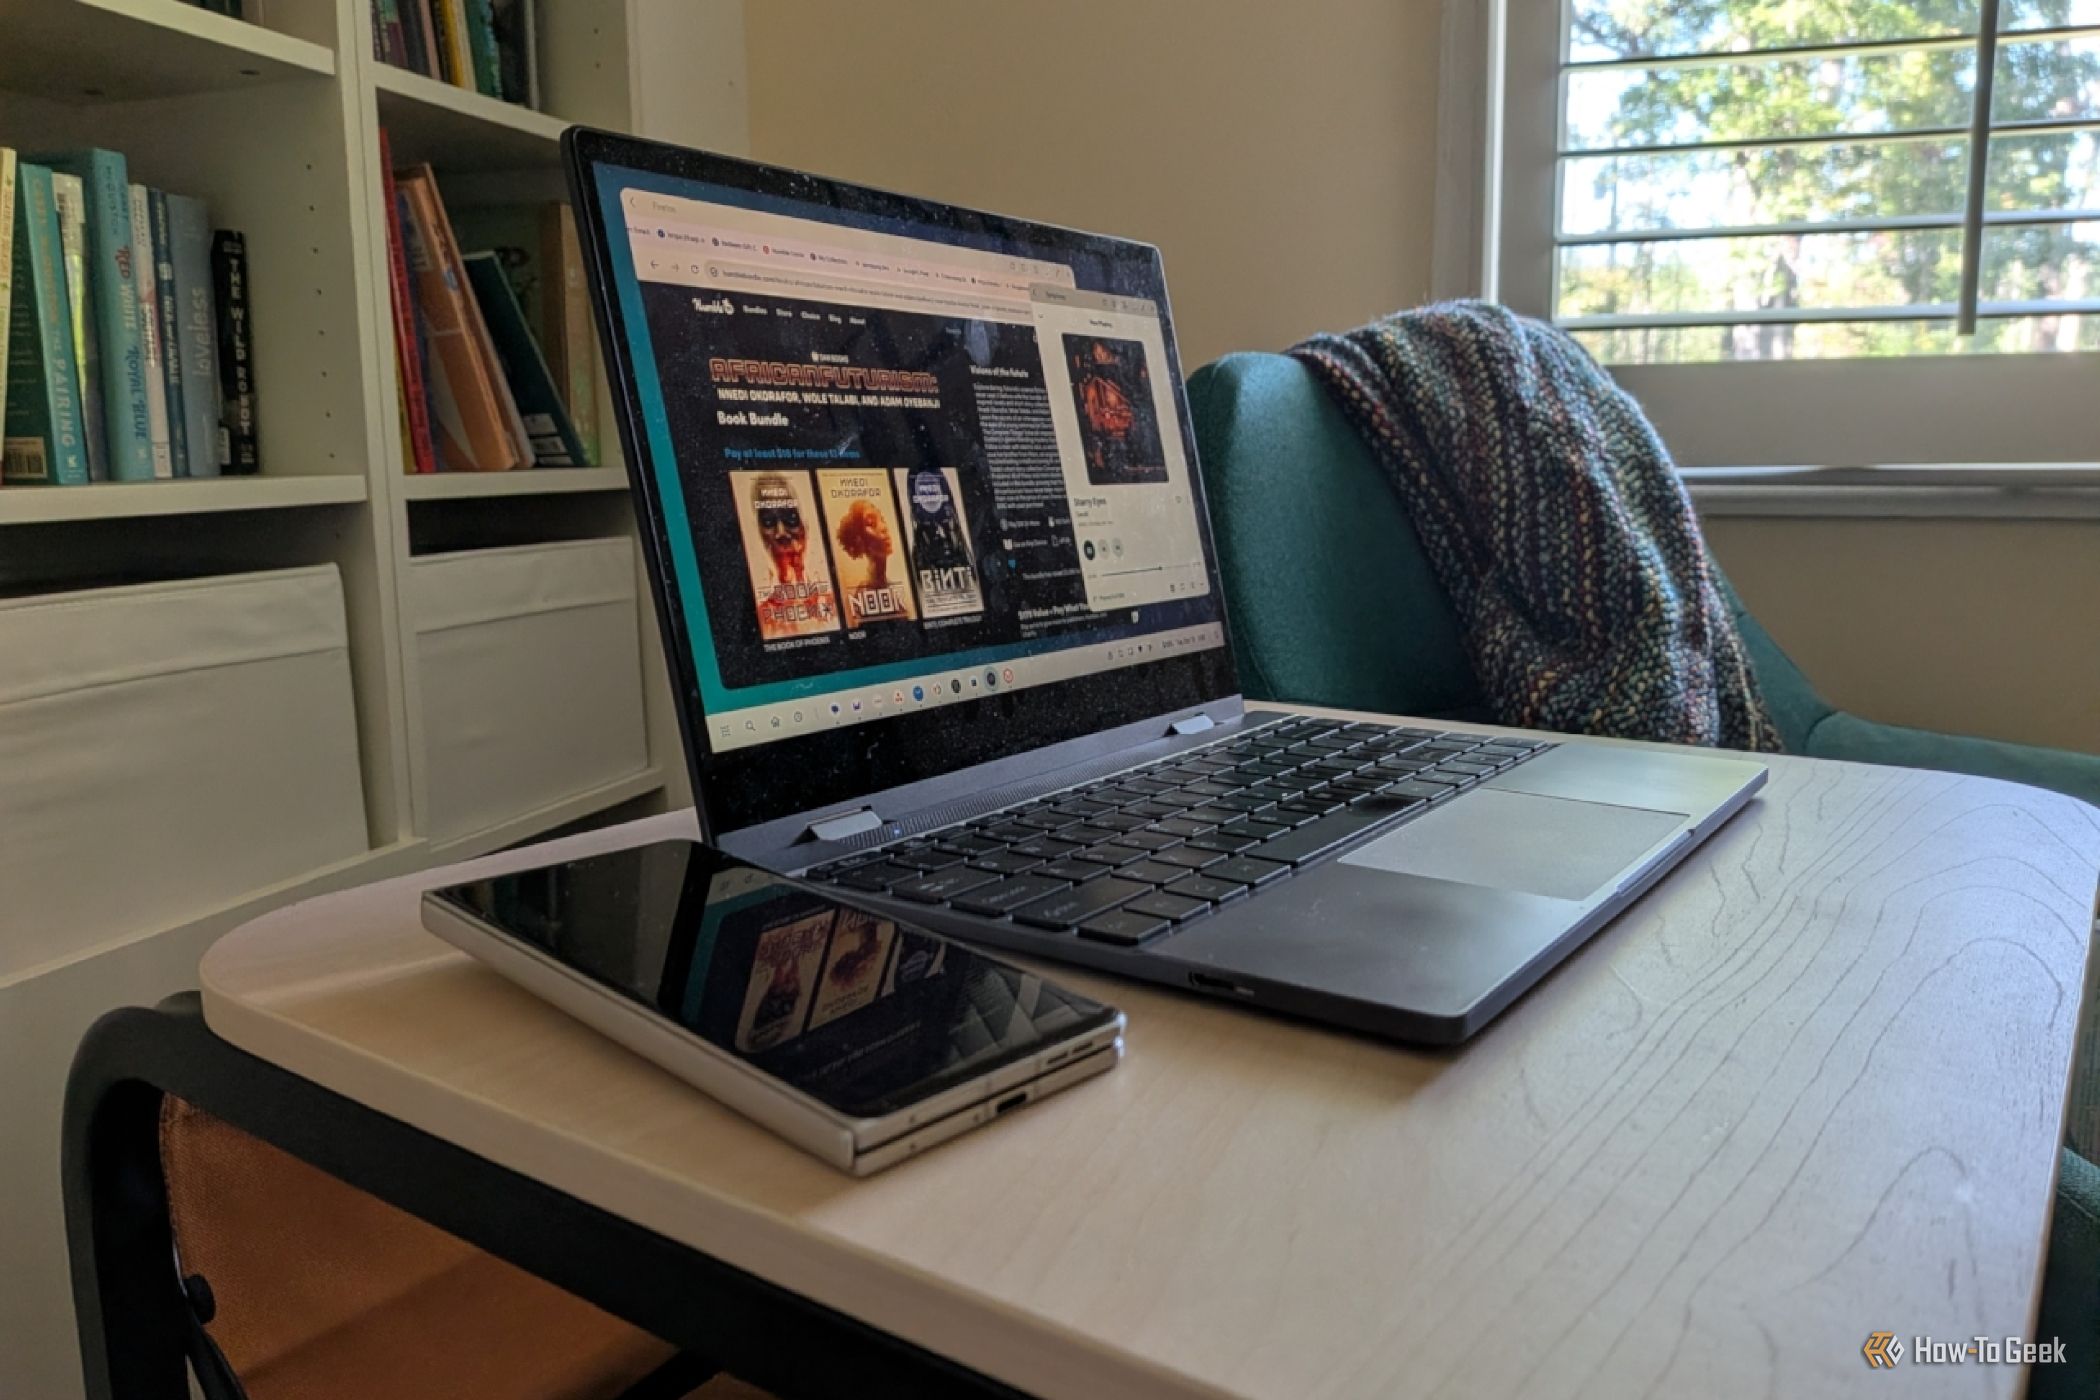
Turn Your Android Phone into a Powerful Desktop Replacement
Learn how to transform your Android phone into a full-fledged desktop computer using external displays and accessories, providing a cost-effective and integrated alternative to new Googlebooks.

howto: Four Ways the Fitbit Edge Is Better Than the Charge 6, and Two
Learn the key differences between the Fitbit Edge and Charge 6, including four advantages of the Edge and two areas where it falls short, to help you choose the best fitness tracker for your needs.
How to Connect Your Googlebook to a Printer - Print Documents with
Learn to quickly connect your Googlebook to a printer via Wi-Fi, USB, or Bluetooth and print documents in minutes. This guide covers direct printing, app-specific connections, troubleshooting, and even printing screenshots as a workaround.