
How to Set Up a Pi-hole on Raspberry Pi - Uncover Hidden Network
Learn to set up a Pi-hole on your Raspberry Pi to block ads, trackers, and malware across your entire network. Gain unprecedented insight into every device's online activity and make informed privacy decisions.
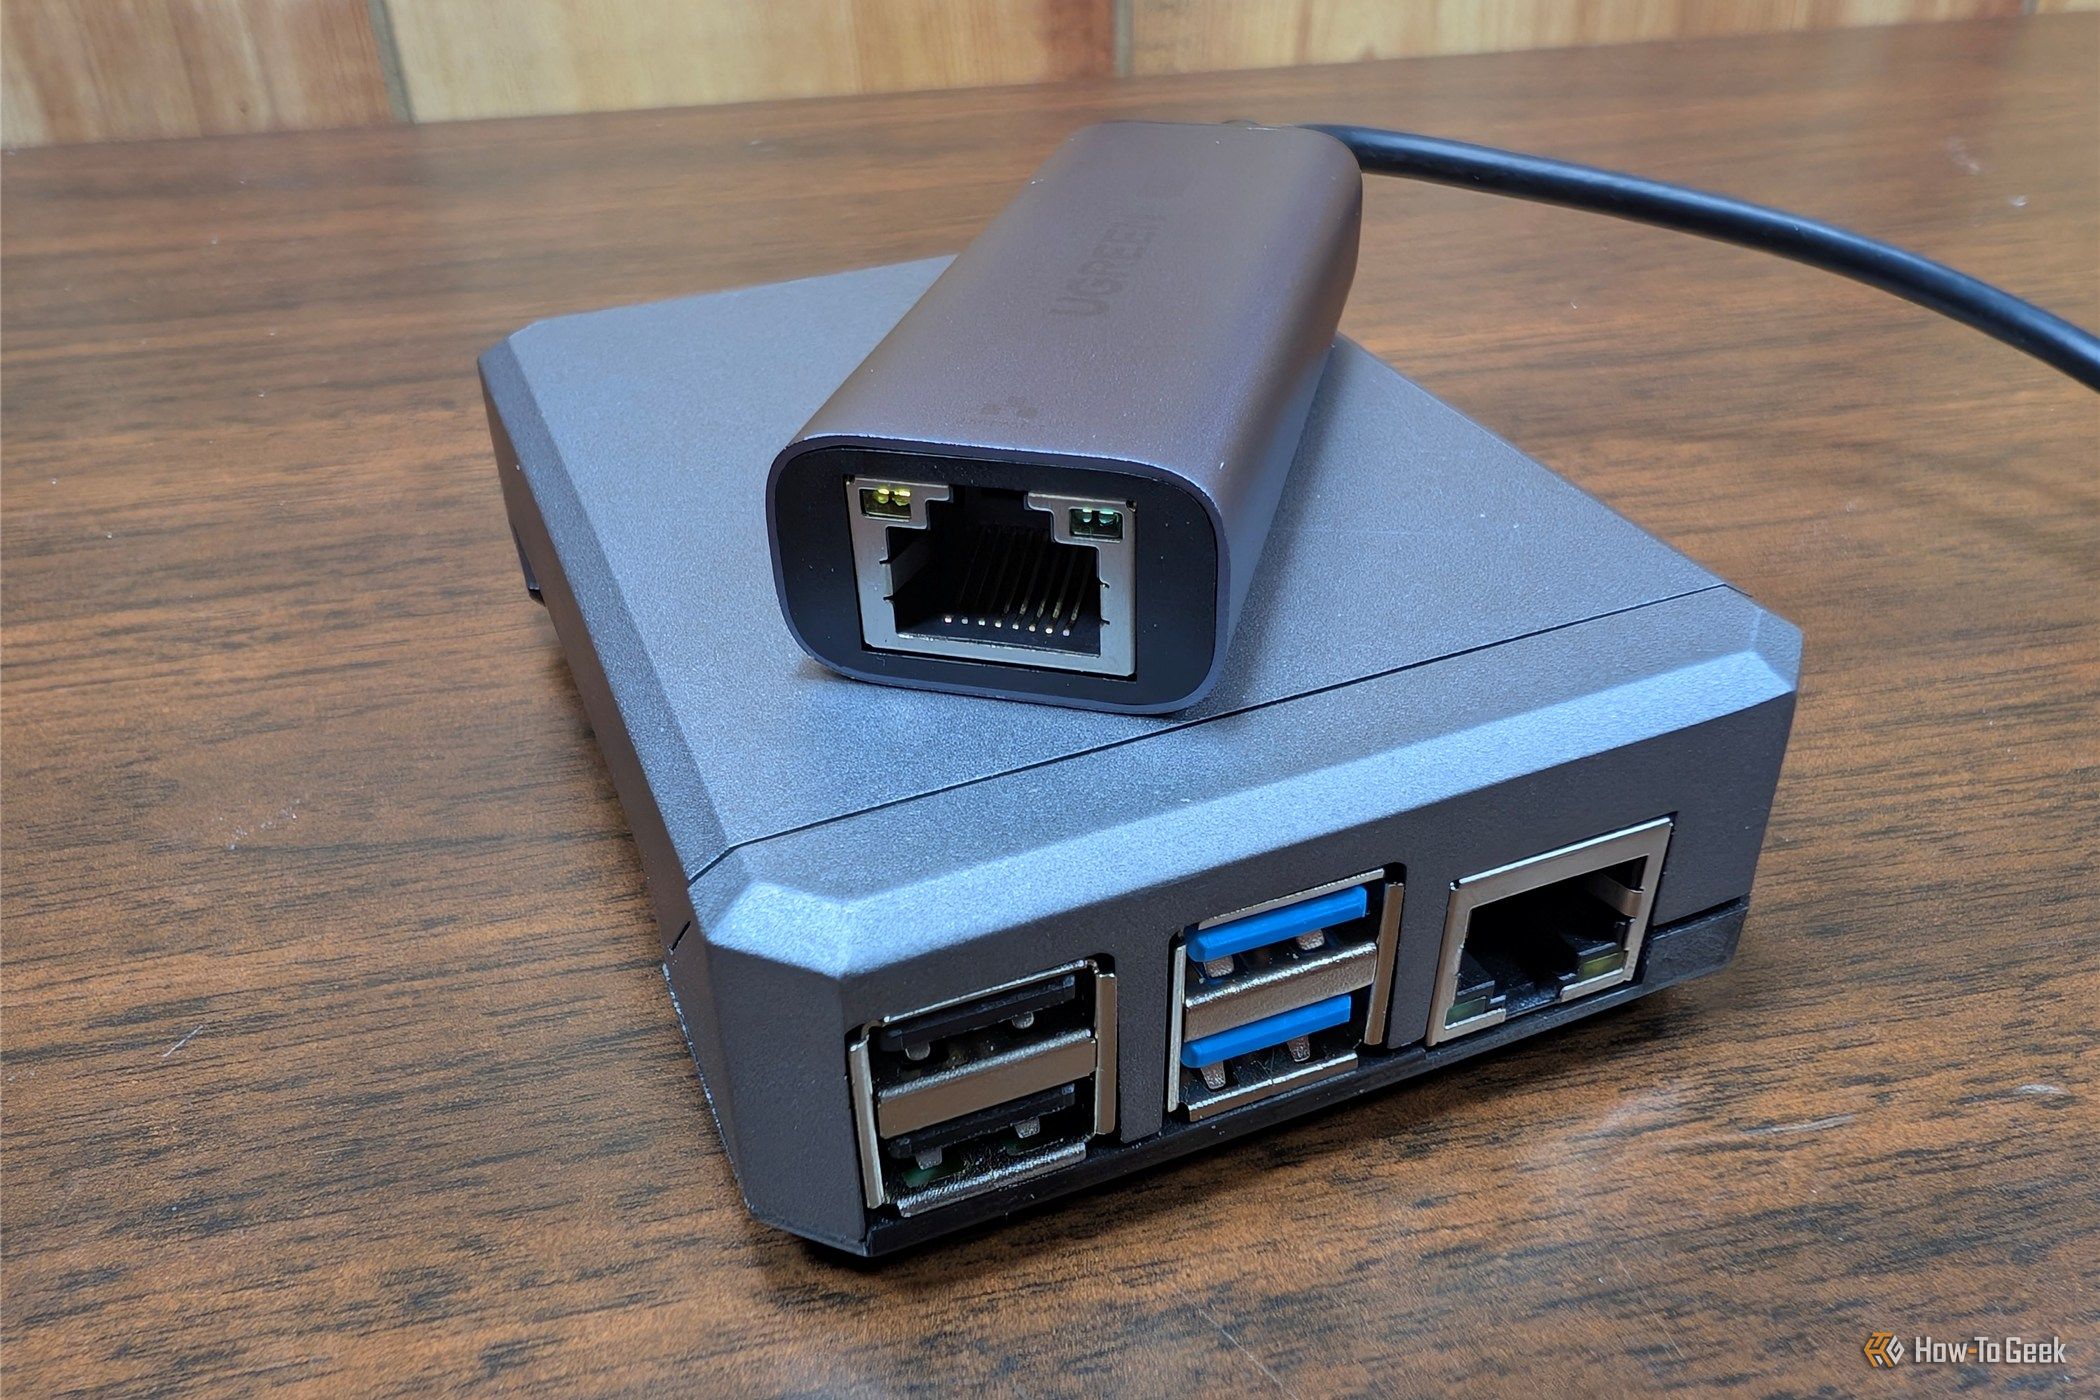
Curious about what your smart devices are really doing? From smart TVs to robotic vacuums, countless gadgets connect to the internet, often engaging in hidden tracking and 'phoning home' to various servers. This guide shows you how to set up a Pi-hole on a Raspberry Pi. This powerful tool blocks ads and malicious sites while revealing every connection your network devices make, giving you unprecedented insight and control over your family's digital privacy.
What is a Pi-hole and Why It Matters
A Pi-hole acts as a DNS sinkhole, filtering internet requests for your entire network. When a device requests a website, the Pi-hole intercepts it. If the domain is on a blocklist, the request is stopped, effectively blocking the connection. This network-level approach is superior to browser extensions, protecting every device, including smart TVs, game consoles, and IoT gadgets where you can't install software. It efficiently blocks trackers, ads, and even some malware like known phishing sites for your whole household. Pi-hole is lightweight enough to run comfortably on any Raspberry Pi, even a Pi Zero 2 W.
Uncovering Hidden Activity with the Query Log
While ad-blocking is valuable, the true revelation comes from the Pi-hole's query log. This log records every domain your network devices attempt to connect to. You'll likely be surprised by constant 'phone home' traffic; smart TVs ping analytics servers frequently, and phone apps often connect to unexpected servers even when idle. Many users are astonished by smart home device chatter; one found their robotic vacuum generated more queries in a day than their desktop PC. For privacy-conscious individuals and parents, this background activity, especially from kids' tablets and apps, is concerning. By exposing these connections, a Pi-hole empowers you to understand your network, enabling informed decisions about devices and their access.
Before You Begin: What You'll Need
Gather these essentials:
- Raspberry Pi: Any model; Ethernet port recommended.
- MicroSD Card: For the OS.
- Power Supply: Compatible with your Pi.
- Computer with SD Card Reader: To flash the OS.
- Network Router Access: To configure DNS.
- SSH Client: To remotely connect to your Pi.
Step-by-Step: Setting Up Your Pi-hole
Follow these steps to get your Pi-hole running and monitor your network.
1. Prepare Your Raspberry Pi
- Flash Raspberry Pi OS Lite: Use Raspberry Pi Imager to install OS Lite onto your microSD card.
- Enable SSH: During the Imager process, ensure SSH access is enabled.
- Power Up: Insert the card, connect your Pi to your router via Ethernet (if possible), and plug in the power supply. Allow it to boot.
2. Install Pi-hole Software
- Connect via SSH: Use your SSH client to connect to your Pi's IP address (check your router). Default user:
pi, pass:raspberry. - Run Installer: Execute:
curl -sSL https://install.pi-hole.net | bash - Follow Prompts: The installer guides you through choices like upstream DNS and interfaces. Pay attention and note the admin password.
3. Configure Your Network
This crucial step ensures all your devices use the Pi-hole.
- Assign Static IP to Pi: Vital to give your Raspberry Pi a static IP address. If its IP changes, your network will lose internet. Configure this via your router's DHCP lease reservation or on the Pi.
- Update Router's DHCP DNS: Log in to your router's administration interface. In DHCP settings, change the primary DNS server IP to your Pi's static IP address. Save.
- Restart Devices: Existing devices may need a restart or network adapter toggle to pick up new DNS settings.
Your Pi-hole is now active! All devices connecting to your network will route DNS requests through it.
Troubleshooting Tips & Best Practices
- Website/App Breaks: If something stops working, check your Pi-hole's web interface query log. Find the blocked domain and add it to your allowlist.
- Limitations: Pi-hole cannot block hardcoded IP addresses or DNS-over-HTTPS (DoH) traffic, as these bypass traditional DNS.
- Monitor the Query Log: Regularly review the query log for insights into 'phone home' traffic and to refine your block/allow lists.
Beyond Blocking: Making Informed Decisions
The visibility from the Pi-hole's query log will profoundly change how you interact with smart devices. Seeing the volume of unnoticed traffic is eye-opening, empowering you to make informed choices about future device purchases and their network access. Your Pi-hole also serves as a robust first line of defense against known phishing sites and malware distribution, significantly enhancing your network's security.
FAQ
Q: Can a Pi-hole block all ads? A: Pi-hole is effective network-wide but operates at the DNS level. It cannot block ads from the same domain as content, hardcoded IPs, or DNS-over-HTTPS (DoH). A browser extension can supplement for full ad-blocking.
Q: Will my internet slow down? A: No. DNS lookups are lightweight. Pi-hole processes requests locally, often feeling faster as blocked content never loads. No noticeable internet speed decrease.
Q: What if a website breaks? A: Common. Access Pi-hole's web interface, check the "Query Log" for the blocked domain, and add it to your allowlist.
Next Steps & Further Exploration
Explore your Pi-hole's web interface and delve into the query logs. Consider customizing blocklists, adding more specific ones, or creating your own. Pi-hole offers continuous insights and control over your digital environment.
Related articles
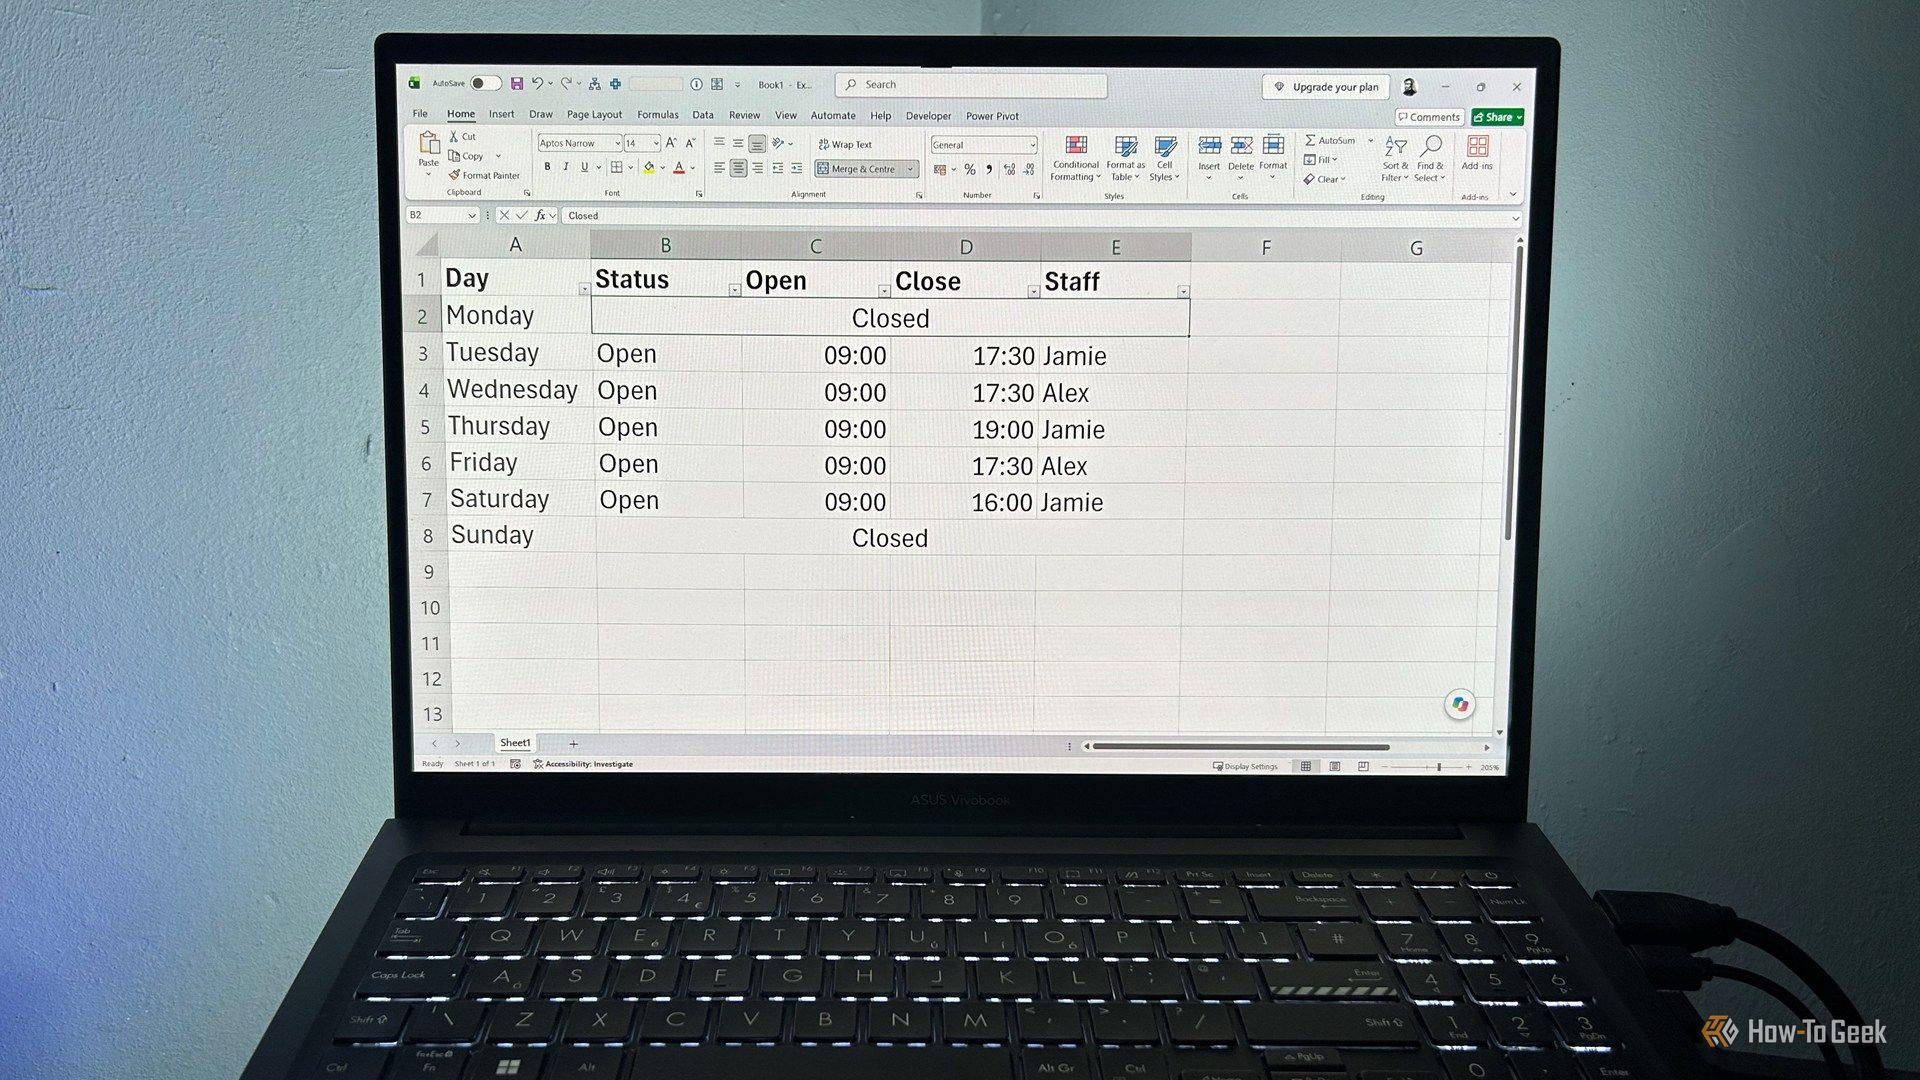
Ditch Merge & Center: The Better Way to Align Text in Excel
Learn to use Excel's "Center Across Selection" to align text across cells without merging, avoiding common data manipulation issues. This guide provides steps to utilize this newly accessible feature and add it to your Quick Access Toolbar.
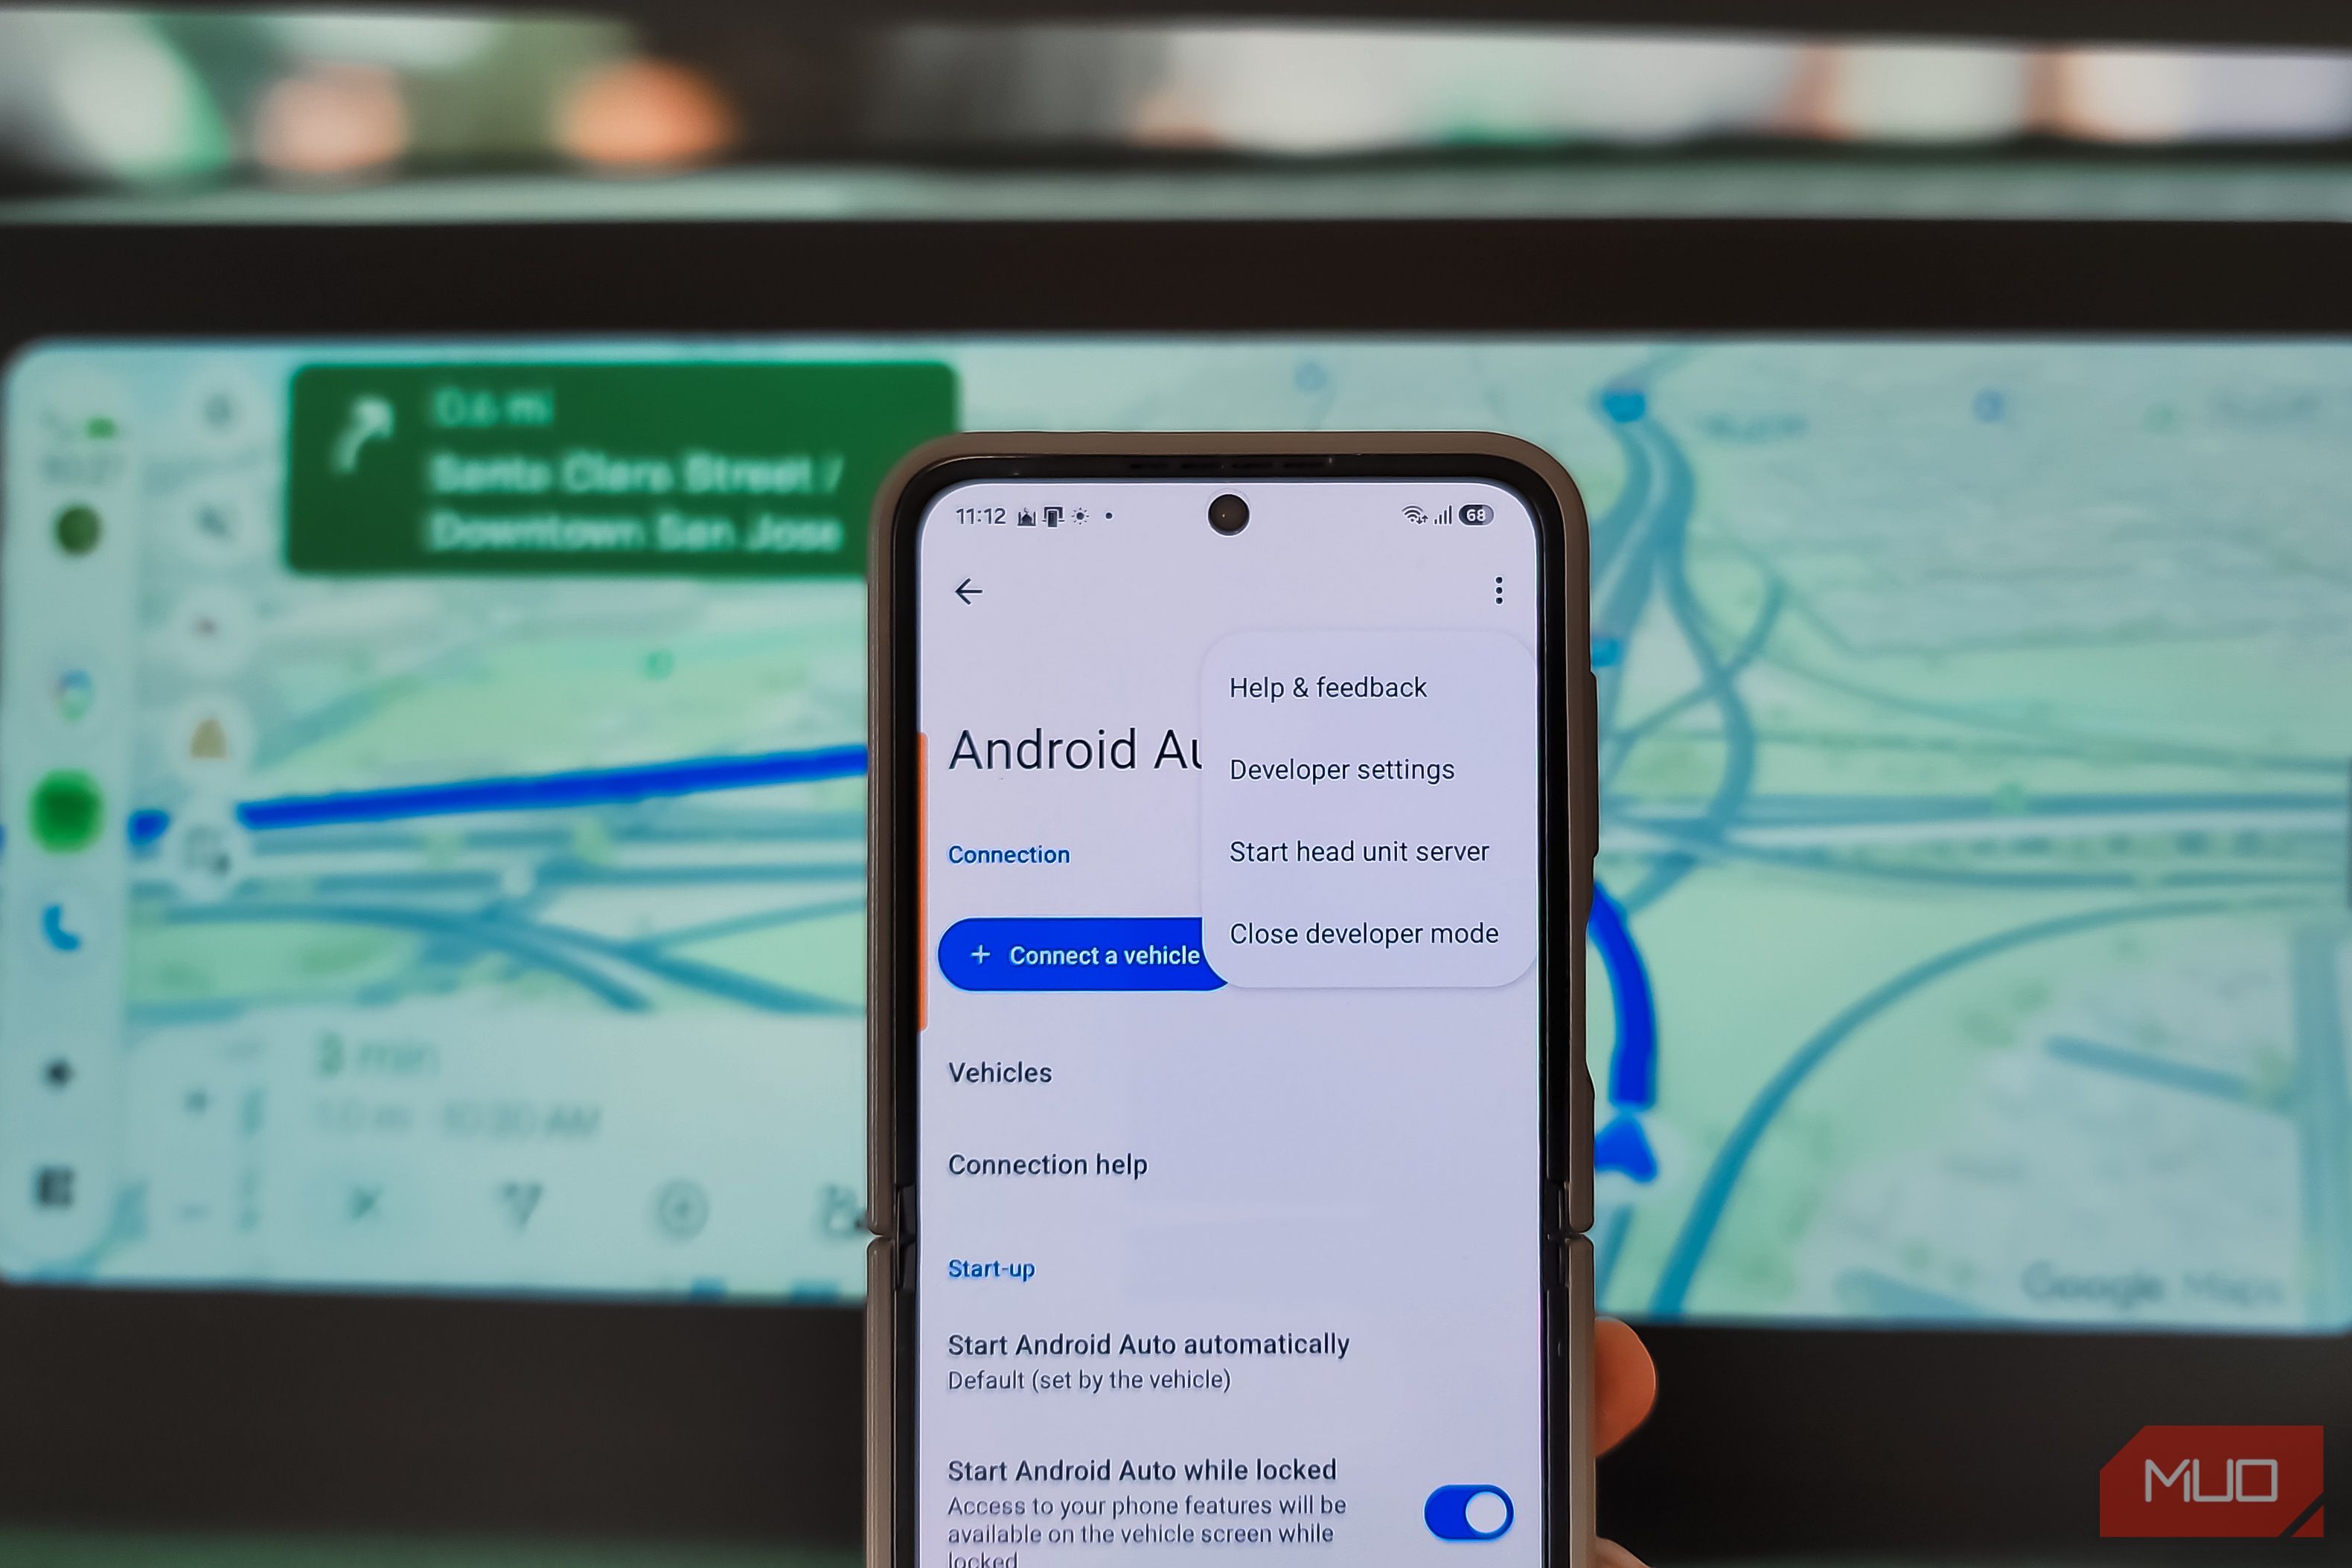
Stop Android Auto Battery Drain: Essential Features to Disable and
Android Auto offers unparalleled convenience, bringing your phone's most useful features directly to your car's display. From navigation and calls to messages and music, it keeps you connected without distracting you

Turn Your Android Phone into a Powerful Desktop Replacement
Learn how to transform your Android phone into a full-fledged desktop computer using external displays and accessories, providing a cost-effective and integrated alternative to new Googlebooks.

howto: Four Ways the Fitbit Edge Is Better Than the Charge 6, and Two
Learn the key differences between the Fitbit Edge and Charge 6, including four advantages of the Edge and two areas where it falls short, to help you choose the best fitness tracker for your needs.
How to Connect Your Googlebook to a Printer - Print Documents with
Learn to quickly connect your Googlebook to a printer via Wi-Fi, USB, or Bluetooth and print documents in minutes. This guide covers direct printing, app-specific connections, troubleshooting, and even printing screenshots as a workaround.
How to Debloat Windows 11 for a Faster, Cleaner PC
Learn to reclaim your Windows 11 PC's performance by removing bloatware, disabling ads, and optimizing startup processes in five easy steps.