
How to Build Your First Home Server from Spare PC Parts - Unlock
Learn to build your first home server from spare PC parts in sequential steps, leveraging Proxmox for versatile virtualization and planning for future upgrades.
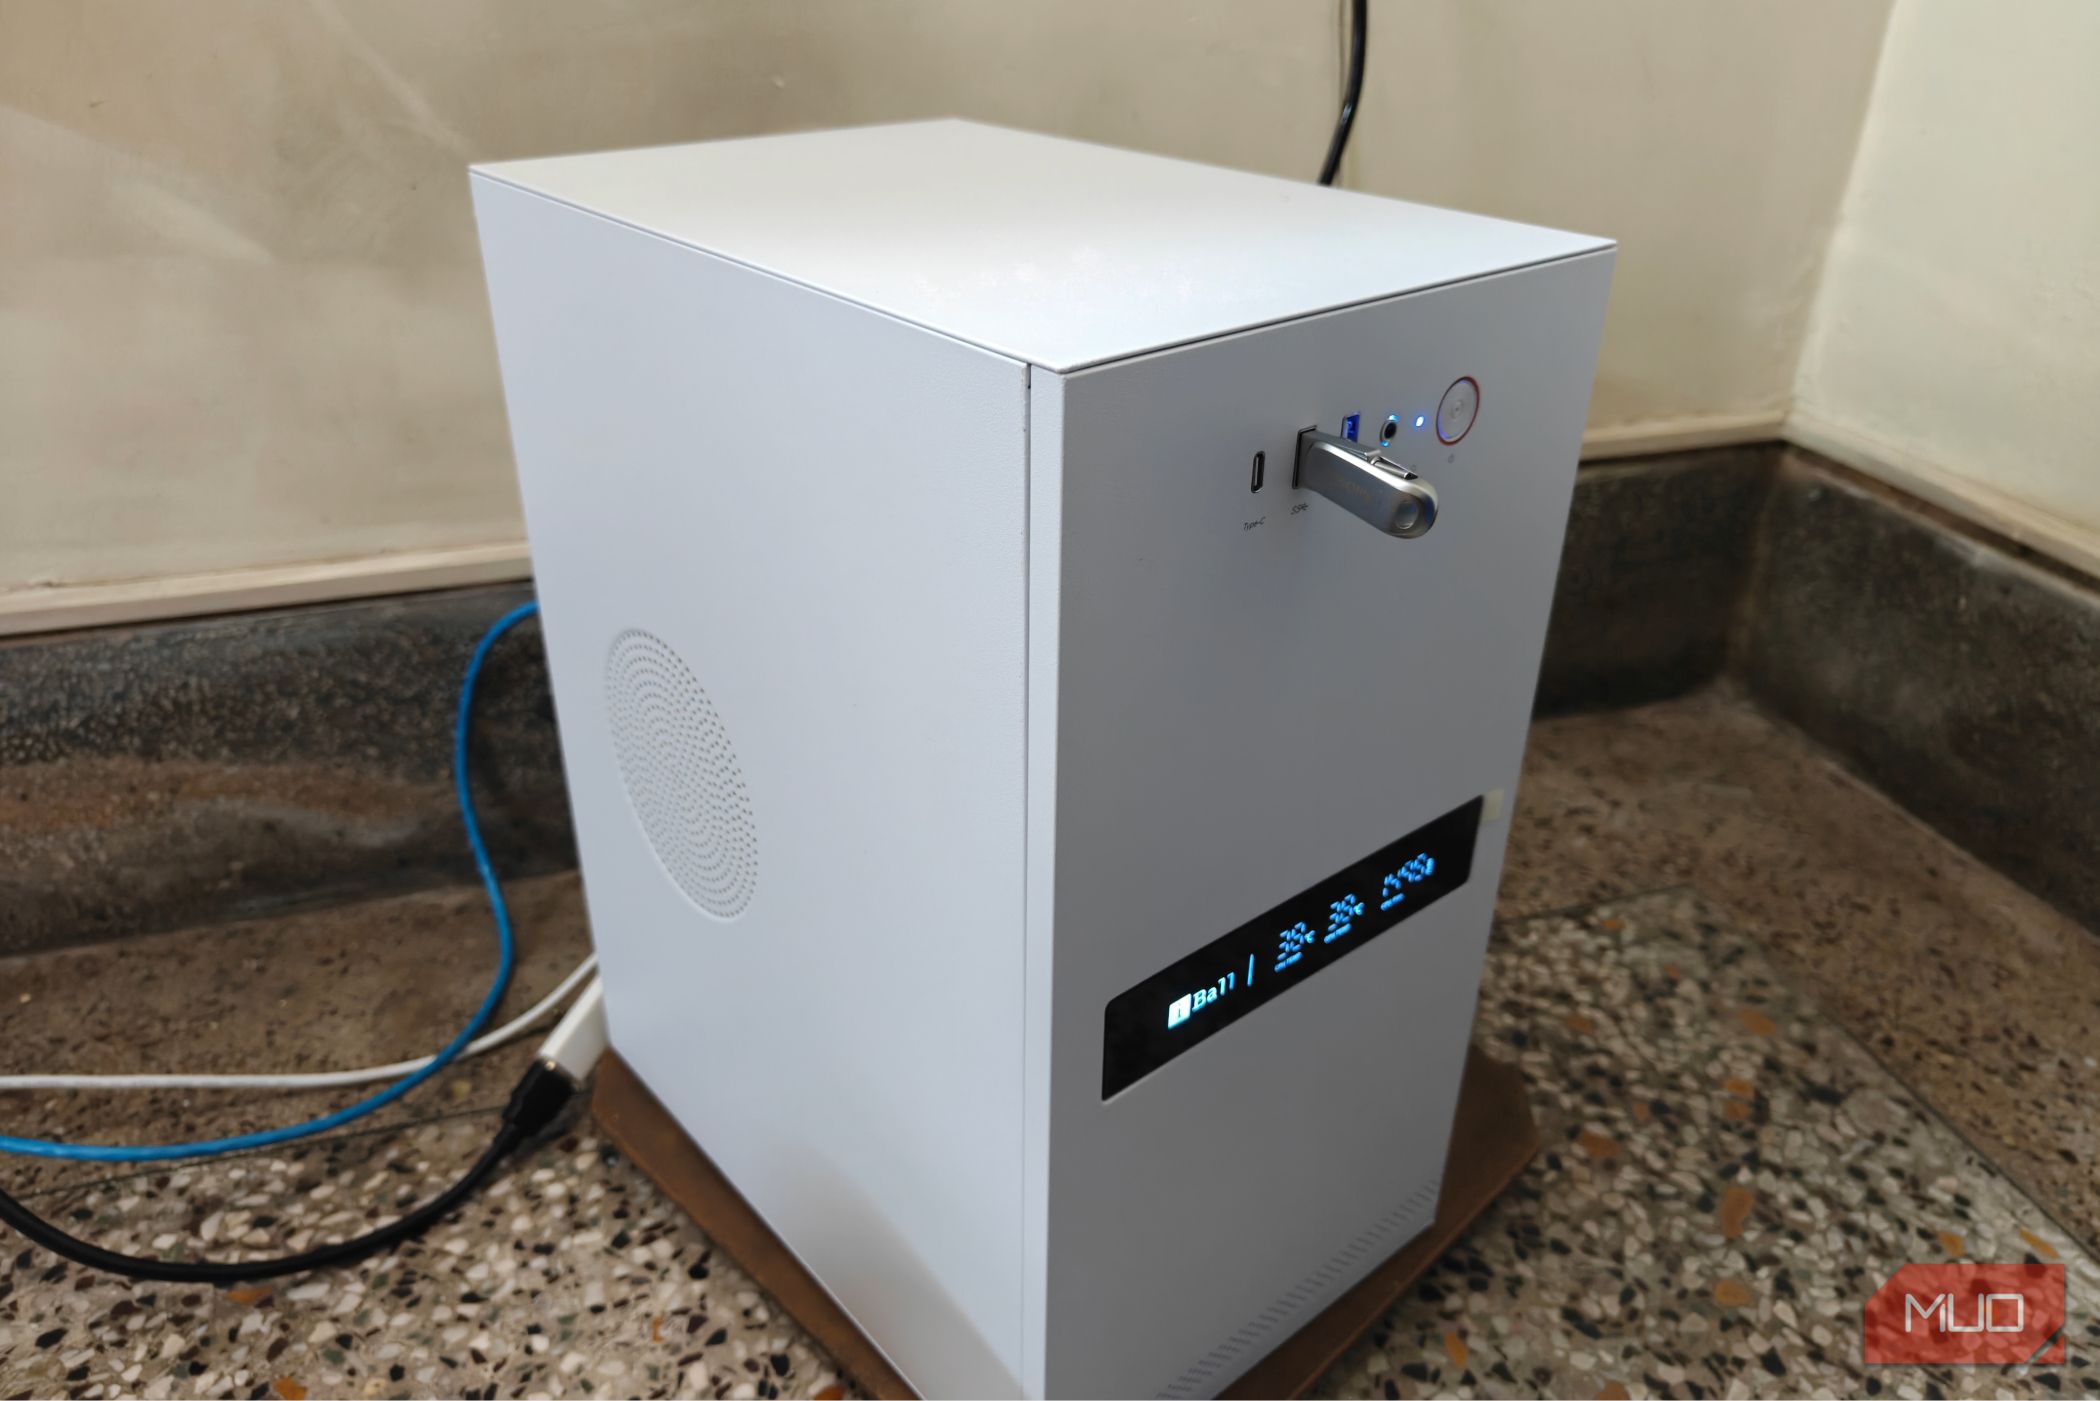
So, you've upgraded your main PC, and now you're staring at a pile of perfectly good, leftover components. Don't let those parts gather dust! Instead, transform them into a versatile home server. Building a home server from spare PC parts is a surprisingly rewarding project that can unlock a new level of digital independence, allowing you to host your own services, experiment with virtualization, and manage your data more effectively. Best of all, it's often more power-efficient and cost-effective than buying new hardware.
This guide will walk you through the process, from selecting your components to installing a powerful, user-friendly operating system. We'll focus on using standard consumer x86 PC parts, making it accessible for anyone with some basic PC building experience.
What You'll Accomplish
By following this guide, you will:
- Assemble a functional home server using your spare desktop PC components.
- Install and set up Proxmox, a free, open-source virtualization platform ideal for home labs.
- Learn how to identify key upgrade paths to enhance your server's capabilities and performance over time.
Prerequisites and Requirements
Before you begin, gather the following:
- Spare PC Components:
- Motherboard: An AM4 (or similar mainstream desktop) motherboard. An entry-level board like an A320M can work, but a more feature-rich one (e.g., B550M) is recommended for future expansion.
- CPU: A basic processor, ideally with integrated graphics (e.g., Ryzen 3 3400G). This helps keep costs down and avoids the need for a dedicated GPU if you don't have a spare.
- RAM: At least 8GB of DDR4 RAM. While a single stick will work, 16GB in a dual-channel configuration is highly recommended for better performance.
- Storage: At least one 512GB NVMe SSD for the operating system and initial data. Additional traditional HDDs are useful for bulk storage.
- Power Supply Unit (PSU): A basic, functional PSU to power your components.
- Case: A PC case to house your components.
- Optional GPU: A low-power graphics card like an Nvidia RTX A2000 (if you have one and want to experiment with GPU passthrough for VMs) or simply rely on integrated graphics.
- USB Drive: A blank USB drive (at least 8GB) to create a bootable installer for your chosen operating system.
- Internet Connection: For downloading software and updates.
- Basic PC Building Knowledge: Familiarity with installing CPUs, RAM, and connecting cables.
- Monitor, Keyboard, Mouse: Temporarily needed for initial setup.
Step-by-Step Guide to Building Your Home Server
1. Gather and Assess Your Core Components
Begin by collecting all your spare parts. For a robust foundation, consider the following:
- Motherboard: While an older A320M chipset motherboard can get you started, upgrading to something like an MSI Pro B550M-P offers significant advantages. These include more PCIe expansion ports (for networking cards), two NVMe slots, and often better power delivery for future CPU upgrades. These features allow for more versatility and easier expansion down the line.
- CPU: A processor with at least 4 cores and 8 threads, like the Ryzen 3 3400G (Zen+ architecture), is a good starting point. Its integrated Vega 11 graphics eliminate the need for a separate GPU for basic server tasks, saving power and space. The AM4 platform also provides a clear upgrade path for more powerful Ryzen CPUs if your server's demands grow.
- RAM: Initially, 8GB of DDR4 3200 RAM (even a single stick) can suffice. However, for optimal performance and to avoid relying on slower swap space, plan to upgrade to 16GB in a dual-channel configuration as soon as possible. This significantly boosts the performance of both the CPU and any integrated graphics.
- Storage: A 512GB NVMe SSD is excellent for the boot drive and high-speed data access. You'll likely want to expand this with traditional Hard Disk Drives (HDDs) for bulk storage of media, backups, or other less performance-critical files.
- GPU (Optional): If your chosen CPU lacks integrated graphics, you'll need a basic GPU for initial setup. If you have a professional card like an RTX A2000, you can use it for specific virtual machine tasks that benefit from GPU acceleration.
- PSU: Ensure your power supply is sufficient for your components, even if it's a basic model.
2. Assemble the Server Hardware
Treat this like building a standard PC. Install your CPU, RAM, and NVMe SSD onto the motherboard. If you have a discrete GPU, install it into a PCIe slot. Then, mount the motherboard inside your chosen case. Connect the power supply to the motherboard (24-pin ATX and 8-pin EPS connectors), GPU (if applicable), and NVMe drive (usually powered directly by the motherboard). Connect your case's front panel connectors (power, reset, USB, audio).
Tip: It's often easier to perform initial BIOS updates using a temporary Windows installation before moving to your server OS. This ensures all your hardware is running on the latest firmware.
3. Choose and Install Your Operating System: Proxmox
For a first-time home server builder, Proxmox Virtual Environment is an excellent choice. It's a free, open-source Linux distribution specifically designed for virtualization, making it perfect for running multiple services and experimenting with different operating systems.
Why Proxmox?
- Virtualization Focus: Easily create and manage virtual machines (VMs) and containers (LXC) for different applications.
- User-Friendly Interface: Accessible entirely through a web browser, eliminating the need for a dedicated monitor, keyboard, and mouse after initial setup.
- Lightweight: It's built for efficiency, allowing your hardware resources to be dedicated to your hosted services.
- Strong Community Support: A large and active community provides extensive documentation and automated scripts for common workflows.
Installation Steps (Overview):
- Download Proxmox: Go to the official Proxmox website and download the latest ISO image.
- Create Bootable USB: Use a tool like Rufus or Etcher to flash the Proxmox ISO onto your USB drive.
- Boot from USB: Insert the USB drive into your server, power it on, and configure your BIOS/UEFI to boot from the USB drive.
- Follow Installer: The Proxmox installer is straightforward. You'll select your primary NVMe SSD as the installation target, set up network configurations, and create an administrator password.
- Access Web Interface: Once installed and rebooted, you can access the Proxmox web interface from another computer on your network by navigating to
https://[your_server_ip]:8006in your web browser. From here, you can start creating VMs and containers.
4. Optimize and Plan for Future Upgrades
Your home server is now operational, but there's plenty of room to grow and optimize:
- RAM Upgrade: The single 8GB RAM stick is the biggest performance bottleneck. Your next priority should be adding another 8GB stick to achieve 16GB in dual-channel mode. This will significantly improve overall system responsiveness and especially boost the performance of integrated graphics.
- Storage Expansion: Add a secondary 256GB NVMe SSD to your motherboard's second slot to serve as a dedicated, fast boot drive for Proxmox. For mass storage, integrate traditional HDDs of varying capacities. Proxmox supports advanced storage configurations like ZFS for data integrity.
- Networking Enhancements: Improve your server's connectivity. Consider installing a 2.5 gigabit Ethernet card into a spare PCIe slot for faster wired network transfers. For wireless connectivity, an M.2 Wi-Fi adapter (like the Intel AX210) can be added to a spare x1 PCIe slot, converting a laptop Wi-Fi card for desktop use.
- CPU Upgrade: If your server's workload increases, the AM4 platform allows for relatively easy CPU upgrades to more powerful Ryzen processors without replacing the entire motherboard (provided your current motherboard supports them).
Building your first home server is a journey, not a destination. With these foundational steps, you're well on your way to exploring the vast possibilities of self-hosting and digital independence.
FAQ
Q: Why is Proxmox recommended for a first home server?
A: Proxmox is ideal for beginners because it's free, open-source, and provides a powerful yet accessible web-based interface for managing virtual machines and containers. Its focus on virtualization makes it incredibly versatile for running various services, and its strong community offers ample support.
Q: What's the most critical initial upgrade for a basic home server?
A: Upgrading RAM to 16GB in a dual-channel configuration is often the most impactful first upgrade. This significantly improves overall system performance, especially if you're using integrated graphics, and prevents the system from relying on slower swap space.
Q: Can I use any spare graphics card for a home server?
A: If your CPU has integrated graphics, a dedicated GPU isn't strictly necessary for most server tasks, saving power. If your CPU lacks integrated graphics, you'll need a basic discrete GPU for initial setup. More powerful GPUs like an RTX A2000 can be used if you plan to run virtual machines that require GPU acceleration, but this will increase power consumption.
Next Steps
Congratulations on building your first home server! Now that your server is up and running, consider exploring these areas:
- Self-Hosting Applications: Start deploying applications like Plex Media Server, network-attached storage (NAS) solutions, or personal cloud services within Proxmox virtual machines or containers.
- Experiment with Virtualization: Create different virtual machines to test various operating systems (like other Linux distributions or even Windows for specific tasks) without affecting your main server installation.
- Backup Solutions: Implement robust backup strategies for your server's data to ensure digital independence truly means digital security.
Enjoy the journey of expanding your digital capabilities with your new home server!
Related articles
Fitbit Edge: Hold Your Horses on Day One
The Google Fitbit Edge has arrived with an MSRP of $179.99, sparking considerable interest in the wearables market. Positioned as a device that balances the utility of a basic fitness band with some advanced features,
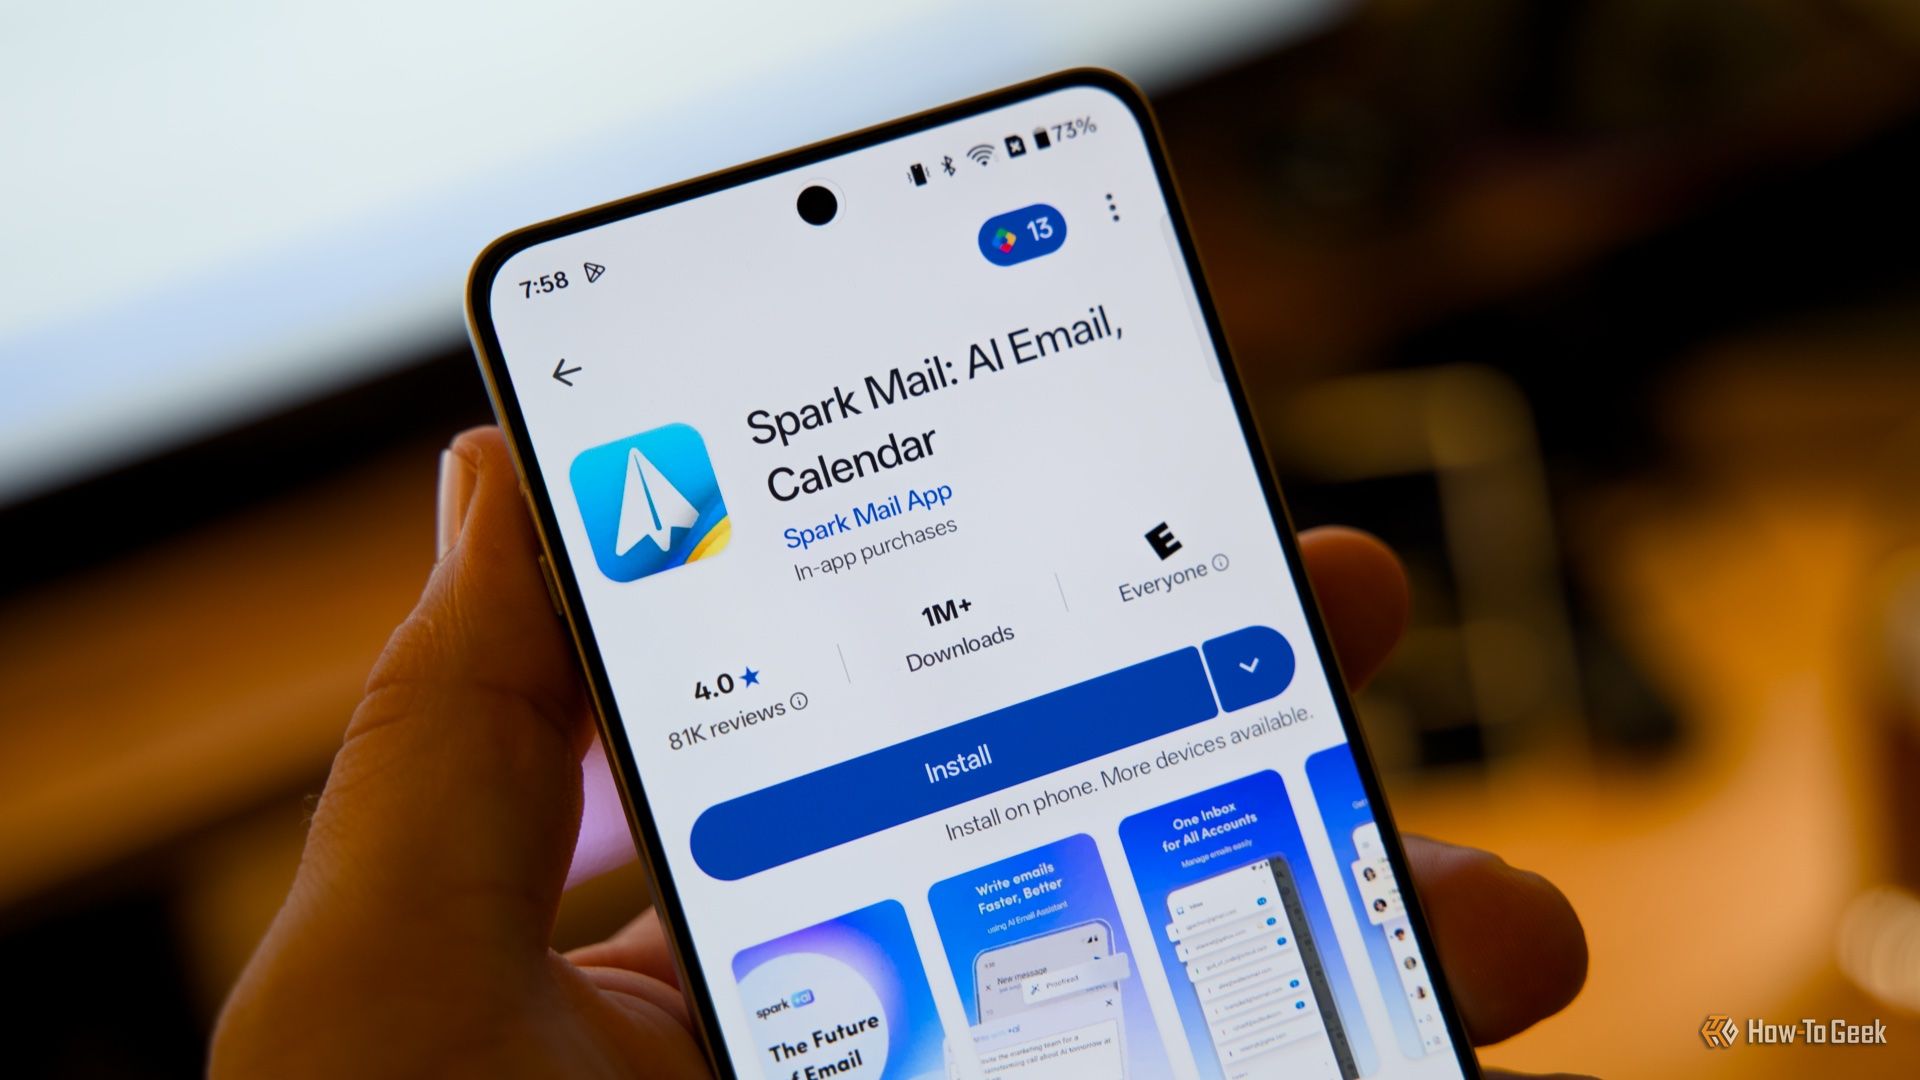
How to Find Specific Google Play In-App Prices
Learn to find specific in-app purchase prices for Android apps by checking the Apple App Store, developer websites, and user reviews before downloading.

Premier League Soccer Streaming: Global Access, Regional Maze
Quick Verdict Streaming Premier League soccer from anywhere is a viable option for international fans, but it's a fractured landscape. In the US, Peacock and NBC Sports Network are your go-to. UK viewers rely on Sky
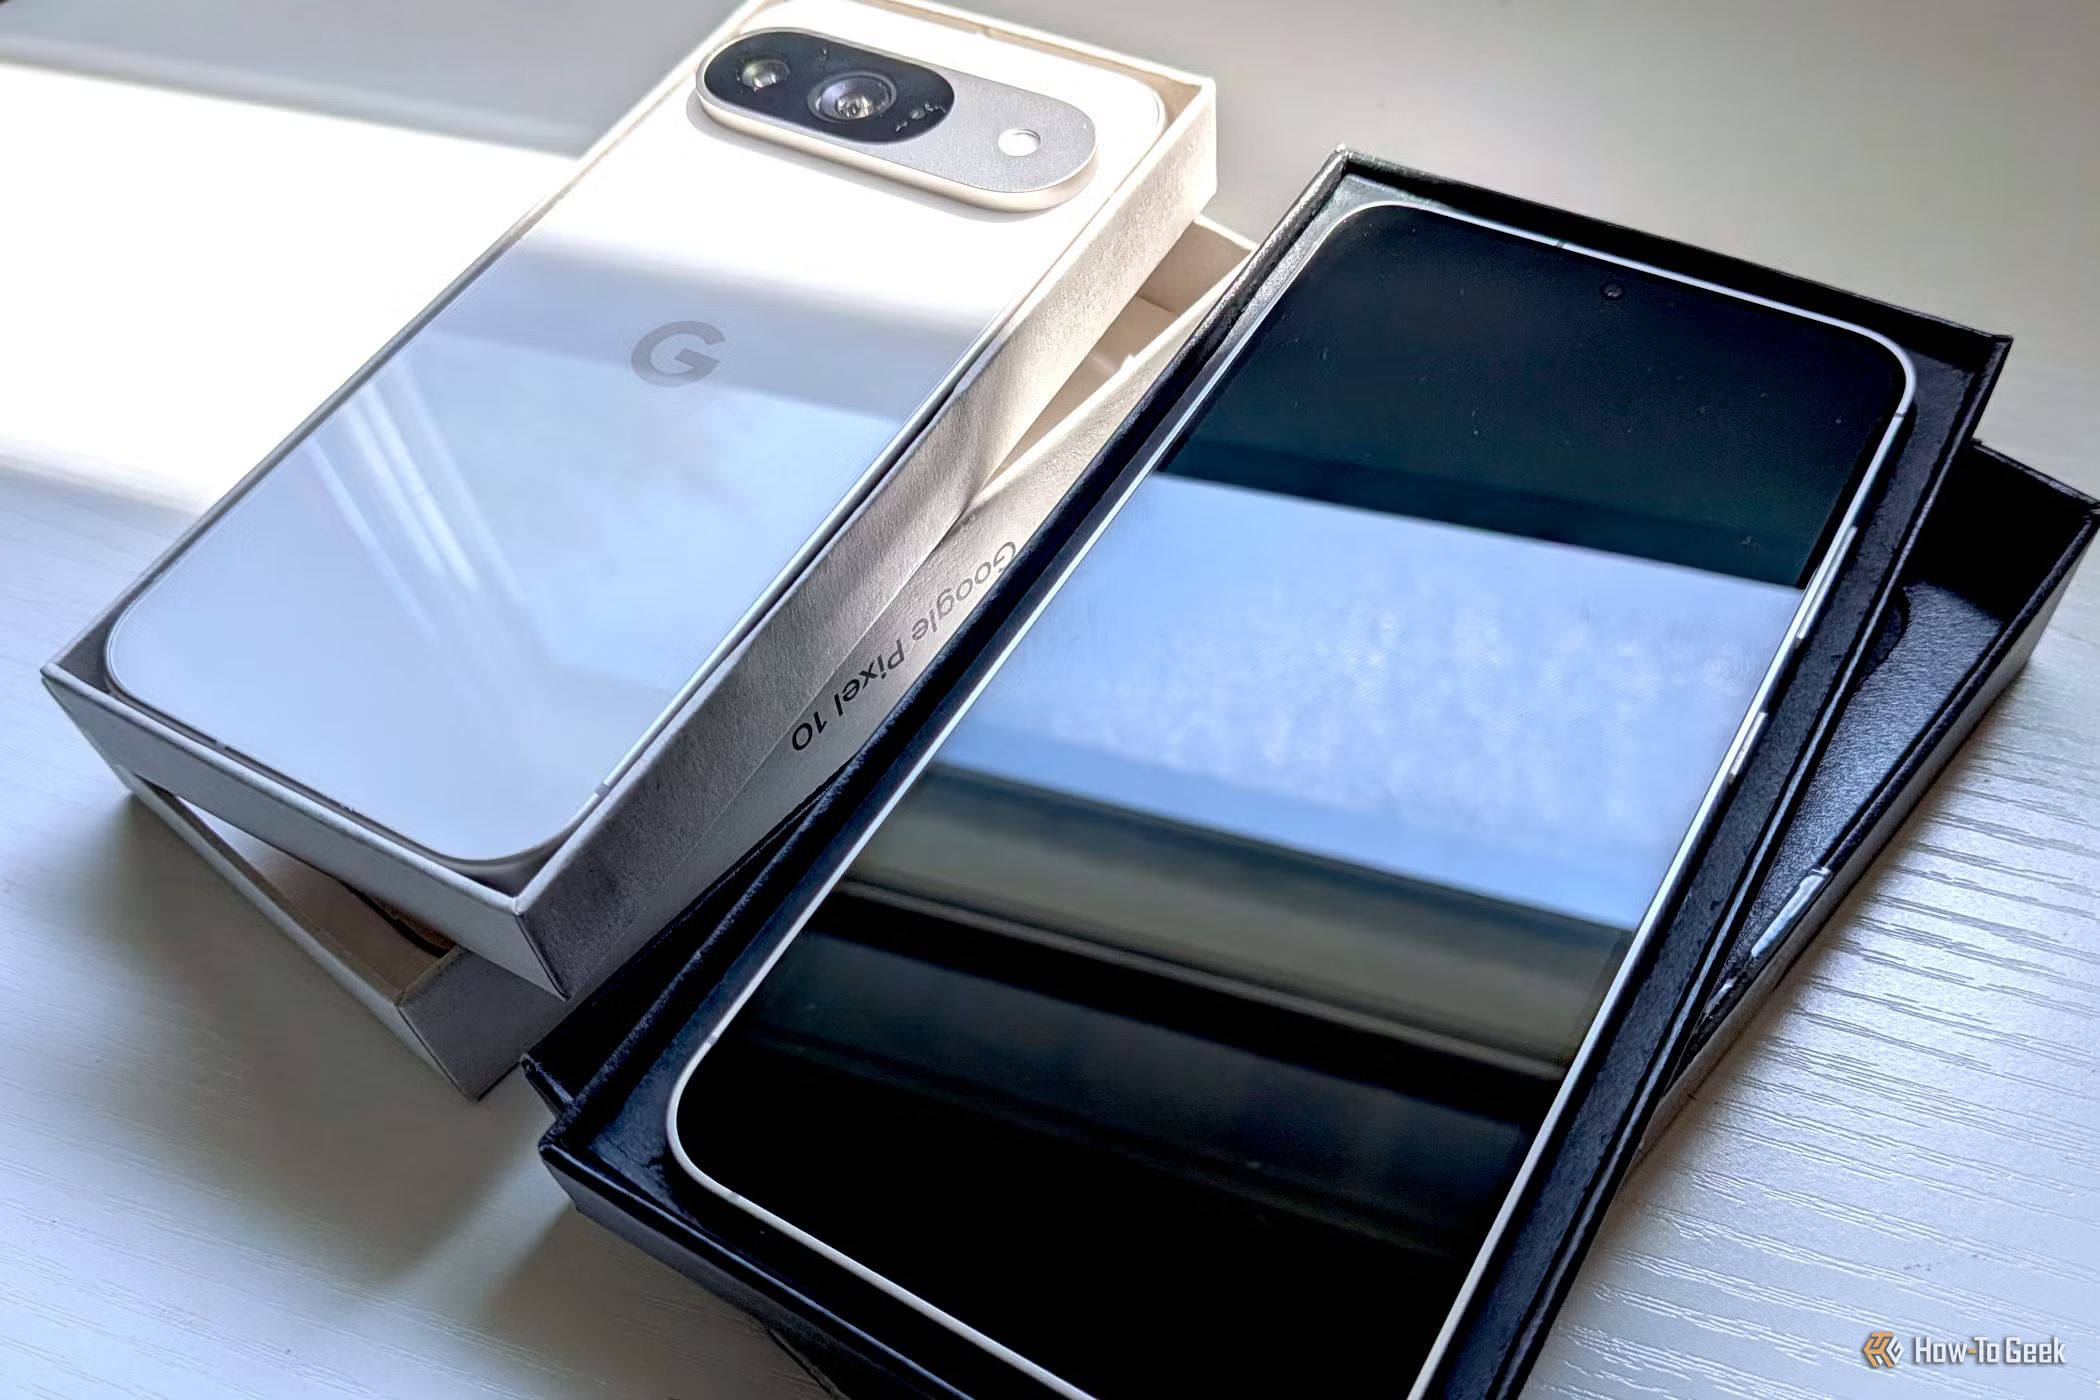
Navigating Pixel vs. Galaxy: Understanding Exclusive Features Before
When considering a switch between Google Pixel and Samsung Galaxy phones, it's easy to assume that all Android flagships offer similar core features. However, as many users discover after making the leap, this isn't

Mercedes-AMG Unveils 1,153HP Electric GT SUV, First Ground-Up EV
Mercedes-AMG has officially pulled back the curtain on its most ambitious electric vehicle yet: the 2028 Mercedes-AMG GT SUV. This groundbreaking, all-electric full-size SUV marks a significant milestone as the

Plug-in Solar Legalization: A Bright Step for Home Energy
The legalization of plug-in solar in 10 US states signals a major shift towards accessible home energy. This review covers the systems, legal status, savings potential, and crucial considerations for consumers.