
Turn Your Dusty Raspberry Pi into a Personal Cloud with Nextcloudpi
Are you tired of monthly cloud storage subscriptions and giving up control of your data? That old Raspberry Pi gathering dust can become your very own personal cloud server, offering the freedom and privacy of
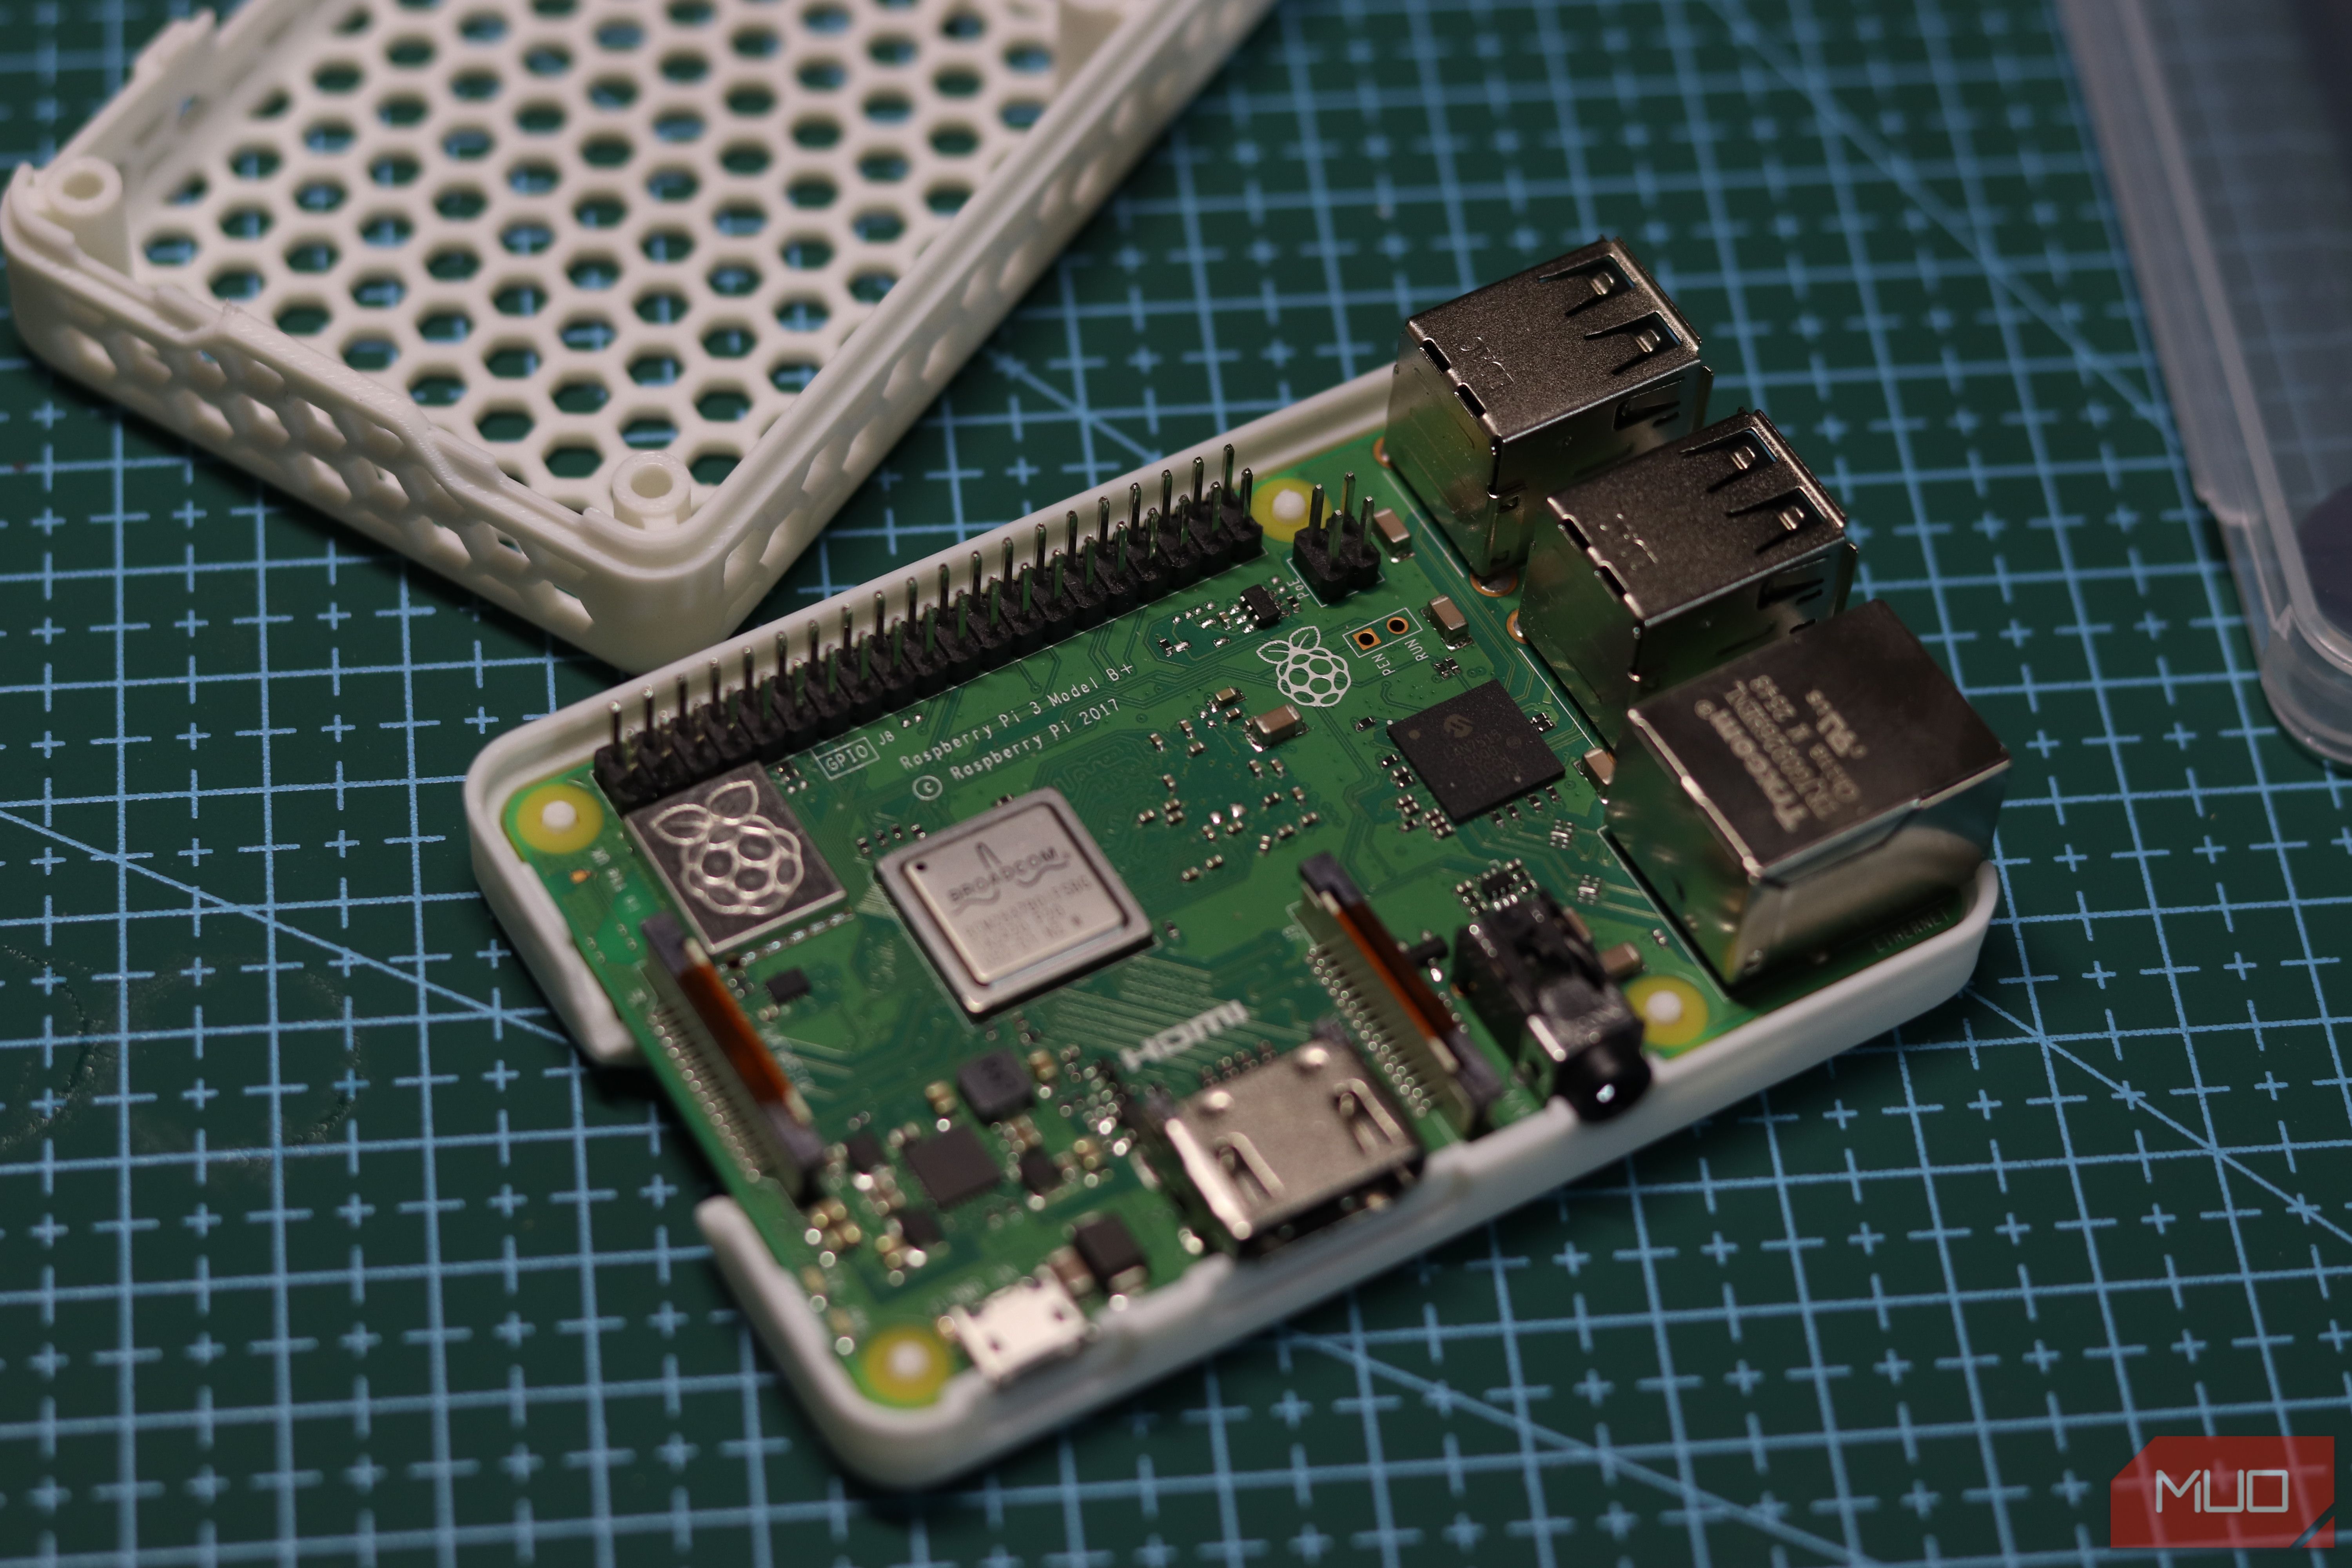
Are you tired of monthly cloud storage subscriptions and giving up control of your data? That old Raspberry Pi gathering dust can become your very own personal cloud server, offering the freedom and privacy of self-hosting without the recurring costs. With a single, straightforward installation, you can transform your Raspberry Pi, especially models like the Raspberry Pi 3B+, into a capable Nextcloud server, perfect for syncing photos, documents, and other files for your personal use or household.
This guide will walk you through the process of setting up Nextcloudpi on your Raspberry Pi. Nextcloudpi is a pre-configured solution specifically designed for Raspberry Pi hardware, simplifying the setup of Nextcloud with a web-based management portal, automatic HTTPS, and out-of-the-box USB storage support. While a newer Pi 4 or later offers better performance, an older Pi 3B+ is surprisingly capable for personal cloud storage, allowing you to regain control of your digital life.
What You'll Accomplish
By following this guide, you will:
- Install Nextcloudpi, a tailored Nextcloud solution, on your Raspberry Pi.
- Set up your Raspberry Pi as a personal cloud server for file storage and synchronization.
- Optimize your Nextcloud instance for better performance on older hardware.
- Configure remote access to your cloud, enabling you to access your files from anywhere.
- Avoid ongoing cloud storage fees and maintain full ownership of your data.
Prerequisites
Before you begin, ensure you have the following items ready:
- Raspberry Pi 3B+ (or similar older model): While newer models are generally better, the Pi 3B+ is sufficient for personal use, keeping in mind its performance limitations.
- Power Supply: A compatible power supply for your Raspberry Pi.
- MicroSD Card (at least 16GB recommended): This will host the operating system and Nextcloudpi software. Note that SD cards wear out faster under constant read/write cycles, so it's not ideal for primary data storage.
- External USB Drive (recommended): Essential for storing your actual cloud data. A USB drive offers more reliable and longer-lasting storage than an SD card.
- Ethernet Cable: For connecting your Raspberry Pi to your home network.
- Computer with SSH client: For initial setup and accessing your Raspberry Pi remotely.
- Legacy Raspberry Pi OS (Debian 12 Bookworm): This is crucial. Nextcloudpi currently does not support the latest Raspberry Pi OS based on Debian 13 Trixie. Download the 'lite' version of Bookworm for better performance.
Step-by-Step Guide to Your Personal Cloud
Step 1: Prepare Your Raspberry Pi
- Flash Legacy Raspberry Pi OS: Using a tool like Raspberry Pi Imager, flash the legacy Raspberry Pi OS (based on Debian 12 Bookworm) onto your microSD card. The 'lite' version is recommended as it uses fewer resources, improving performance on older Pis. Ensure you select the correct OS version to avoid compatibility issues with Nextcloudpi.
- Insert SD Card and Boot Pi: Insert the flashed microSD card into your Raspberry Pi and connect it to power and your network via an Ethernet cable. Allow it to boot up.
- Find Your Pi's IP Address: You'll need your Raspberry Pi's local IP address. You can usually find this by checking your router's connected devices list or using a network scanning tool.
- Connect via SSH: From your computer, open a terminal or SSH client (e.g., PuTTY on Windows) and connect to your Raspberry Pi using its IP address and the default credentials (username
pi, passwordraspberry). If you've already changed these, use your custom credentials.
Step 2: Install Nextcloudpi
With your Raspberry Pi prepared and accessible via SSH, the Nextcloudpi installation is surprisingly simple, requiring just one command:
-
Run the Installation Command: In your SSH session, execute the following command: bash curl -sSL https://raw.githubusercontent.com/nextcloud/nextcloudpi/master/install.sh | sudo bash
-
Review the Warning: The installer will display a warning before proceeding. It will disable SSH login for the root user, reset the root password, and provide a 30-second countdown to abort the installation. If you are logged in as a regular user (like
pi), your access will not be affected. Allow the countdown to finish or press Enter to proceed. -
Wait for Installation to Complete: The script will automatically handle the installation of Apache, PHP, MariaDB, and the Nextcloud application itself. This process can take approximately 15 to 20 minutes on a Raspberry Pi 3B+, and potentially longer depending on your internet connection speed. Do not interrupt the process.
Step 3: Activate Nextcloudpi
Once the installation finishes, you'll need to activate your Nextcloudpi instance:
- Access the Activation Page: Open a web browser on your computer and navigate to your Raspberry Pi's local IP address (e.g.,
http://192.168.1.100). You should see the Nextcloudpi activation page. - Save Your Credentials: The activation screen will present you with two sets of credentials. It is critical to save these passwords immediately, as they will not be displayed again after you dismiss the page:
- NCP Web Admin Panel: This set of credentials (username typically
ncp, with a generated password) is for the Nextcloudpi admin panel, accessible athttp://your.pi.local.ip:4443. This interface is where you will manage the server's backend settings, such as USB storage, SSL certificates, and caching. - Nextcloud Instance: The second set of credentials (same username as above, but a different generated password) is for your actual Nextcloud cloud interface, located at
http://nextcloudpi.local(orhttp://your.pi.local.ip/nextcloud). This is the interface you'll use to access and manage your files.
- NCP Web Admin Panel: This set of credentials (username typically
- Complete Activation: After securely saving both sets of credentials, click the activation button to finalize the setup.
Step 4: Essential Configuration and Optimization
To ensure reliable performance and data integrity, perform these crucial configuration steps within the NCP web admin panel (accessible at http://your.pi.local.ip:4443):
- Move Data Directory to USB Drive:
- Connect your external USB drive to your Raspberry Pi.
- Log into the NCP web admin panel using the first set of credentials you saved.
- Locate the option to move the data directory to an external USB drive. This is vital because SD cards are slow and have a limited lifespan under continuous read/write operations, making them unsuitable for primary data storage. A USB drive provides much more reliable and durable storage for your files.
- Enable Caching:
- Within the NCP web admin panel, enable APCu for local memory caching. This significantly reduces the load on your Pi and speeds up web interface interactions.
- Also, enable Redis for file locking. This improves consistency and performance, especially when multiple users or applications access files.
- Disable Unused Nextcloud Apps: To free up memory and further improve page load times, consider disabling Nextcloud apps you don't intend to use, such as Activity or Talk. You can do this from within the Nextcloud interface (the one accessed at
http://nextcloudpi.local), not the NCP admin panel.
Step 5: Set Up Remote Access (Optional but Recommended)
Accessing your personal cloud from outside your home network is a key feature. The easiest method for this is using Tailscale:
- Install Tailscale on Your Pi: Follow Tailscale's instructions to install it on your Raspberry Pi. This typically involves a couple of commands.
- Install Tailscale on Your Devices: Install the Tailscale app on your phone, laptop, or any other device you wish to use to access your cloud remotely.
- Connect Devices: Once installed and logged in on all devices with the same Tailscale account, your Pi and other devices will appear on the same private network. This WireGuard-based mesh VPN eliminates the need for complex port forwarding on your router, allowing your Nextcloud mobile app to connect to your Pi seamlessly, just like it would to any other Nextcloud server.
Troubleshooting Tips
- "Unsupported OS version" during installation: Ensure you are running Legacy Raspberry Pi OS (Debian 12 Bookworm). Nextcloudpi does not currently support Debian 13 Trixie.
- Slow installation: The installation can take 15-20 minutes or longer, especially with a slow internet connection. Be patient and avoid interrupting it.
- Web interface is sluggish: After activation, ensure you've performed the optimization steps, particularly enabling APCu and Redis caching, and moving the data directory to a faster USB drive.
- Forgot passwords: The activation screen is the only time the initial passwords are shown. If you missed saving them, you may need to reset your Nextcloudpi instance or find instructions for password recovery on the Nextcloudpi documentation.
- Can't reach Pi's IP address: Double-check your Raspberry Pi's network connection and ensure it has booted correctly. Verify its IP address through your router.
Next Steps
Now that your personal cloud is operational, here are some things you can do:
- Install Nextcloud Mobile App: Download the Nextcloud app on your smartphone or tablet and log in using the credentials for your Nextcloud instance (
http://nextcloudpi.local). - Explore Nextcloud Features: Nextcloud offers much more than just file storage, including calendars, contacts, and collaborative tools. Explore the available apps and enable those that suit your needs.
- Implement a Backup Strategy: While your files are now on hardware you own, a local device is still susceptible to hardware failure. Consider implementing a backup strategy for your external USB drive.
FAQ
Q: Can I use a newer Raspberry Pi model for this project? A: Yes, absolutely! While this guide focuses on the Raspberry Pi 3B+ as a capable older model, a Raspberry Pi 4 or newer is a better option for an application like Nextcloud. Newer Pis offer significantly better processing power, more RAM, and improved I/O speeds, leading to a much snappier and more responsive personal cloud experience.
Q: What if I accidentally flashed Raspberry Pi OS based on Debian 13 (Trixie)? A: If you've flashed Debian 13 Trixie, you will encounter compatibility issues as Nextcloudpi currently does not support this version. You will need to re-flash your microSD card with the legacy Raspberry Pi OS, which is based on Debian 12 (Bookworm), before attempting the Nextcloudpi installation again. Make sure to download the correct legacy image.
Q: Why is an external USB drive recommended over the SD card for storage? A: SD cards are not designed for the constant read/write cycles typical of a server application like Nextcloud. Using the SD card for your primary data directory will lead to premature wear and failure of the card, and also result in significantly slower file access speeds. An external USB drive, such as a flash drive or an SSD in an enclosure, offers greater durability, much higher read/write speeds, and generally more storage capacity, making it a far more reliable and efficient choice for your personal cloud data.
Related articles

DJI Solo Video Setups: Smart Choices for Lone Creators
This review delves into DJI's recommended solo video setups, highlighting the Osmo Pocket 3 Creator Combo as a top pick for its integrated camera, gimbal, and mic. It also covers stabilizers like the Osmo Mobile 8 and RS 4, and the DJI Mic Mini series for enhanced audio, providing honest pros, cons, and clear buying advice.

in-depth: Chicago-Area Cops Helped HSI Spy on Minnesota Anti-ICE
Chicago-area law enforcement, including local police and HSI agents, conducted undercover surveillance on Minnesota anti-ICE activists at an April 2, 2022, talk in Chicago. This operation was part of a federal conspiracy probe into 15 Minnesota activists facing felony charges related to immigration enforcement resistance. Civil liberties advocates have condemned the surveillance as a troubling intrusion into protected political activity.
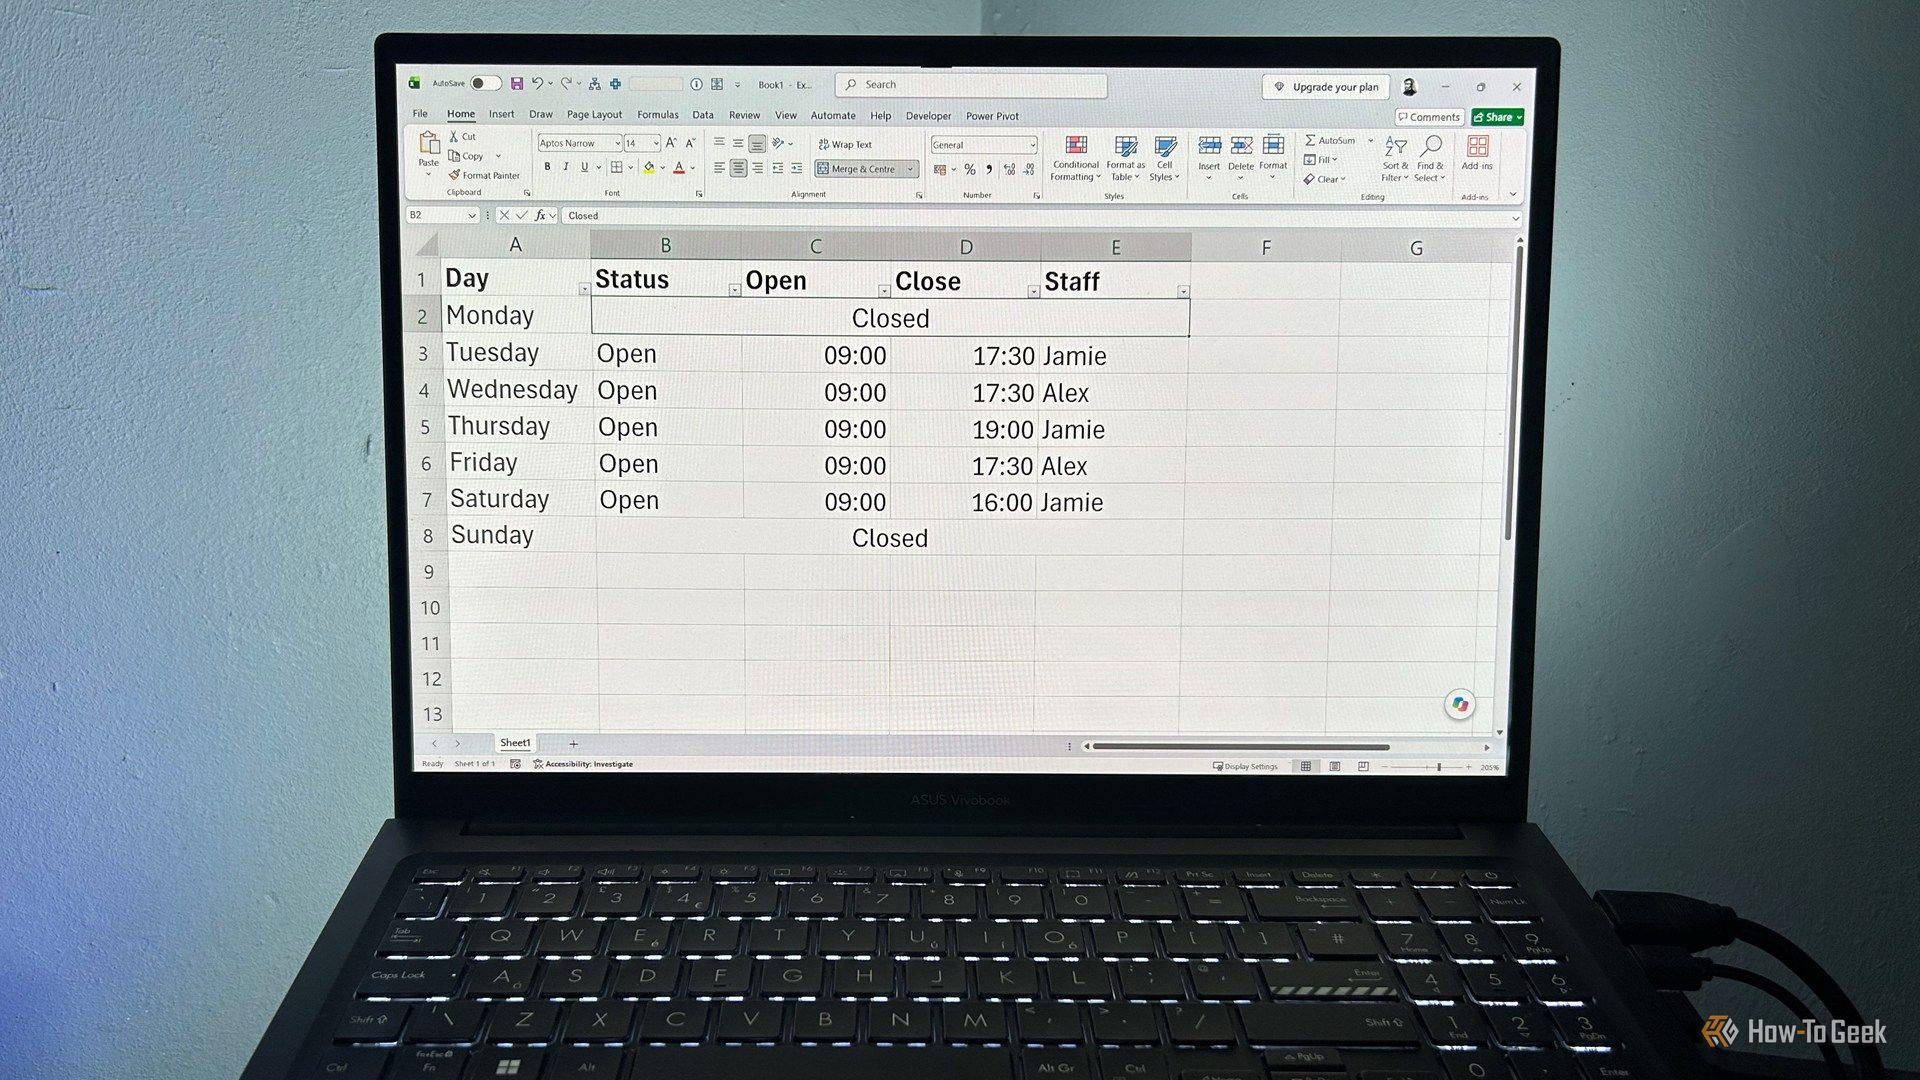
Ditch Merge & Center: The Better Way to Align Text in Excel
Learn to use Excel's "Center Across Selection" to align text across cells without merging, avoiding common data manipulation issues. This guide provides steps to utilize this newly accessible feature and add it to your Quick Access Toolbar.

Ars Technica's Rocket Report: Your Essential Space Industry Briefing
Quick Verdict Ars Technica's Rocket Report, presented by veteran space reporter Stephen Clark, offers an invaluable and meticulously organized weekly (or similar frequency, implied by "Edition 9.15") digest of the most
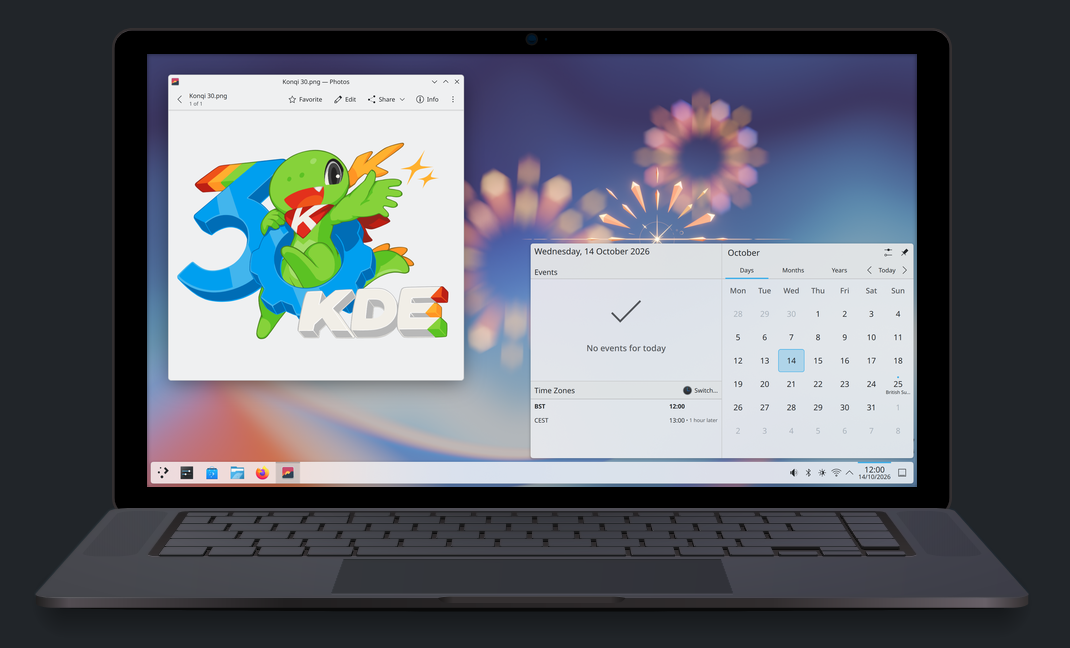
KDE Plasma 6.8: A Future-Focused 30th Anniversary Update
Quick Verdict KDE Plasma 6.8, arriving as the "30th Anniversary Edition," is a pivotal release that decisively pushes the desktop environment into the future. With a definitive farewell to native X11 sessions and a
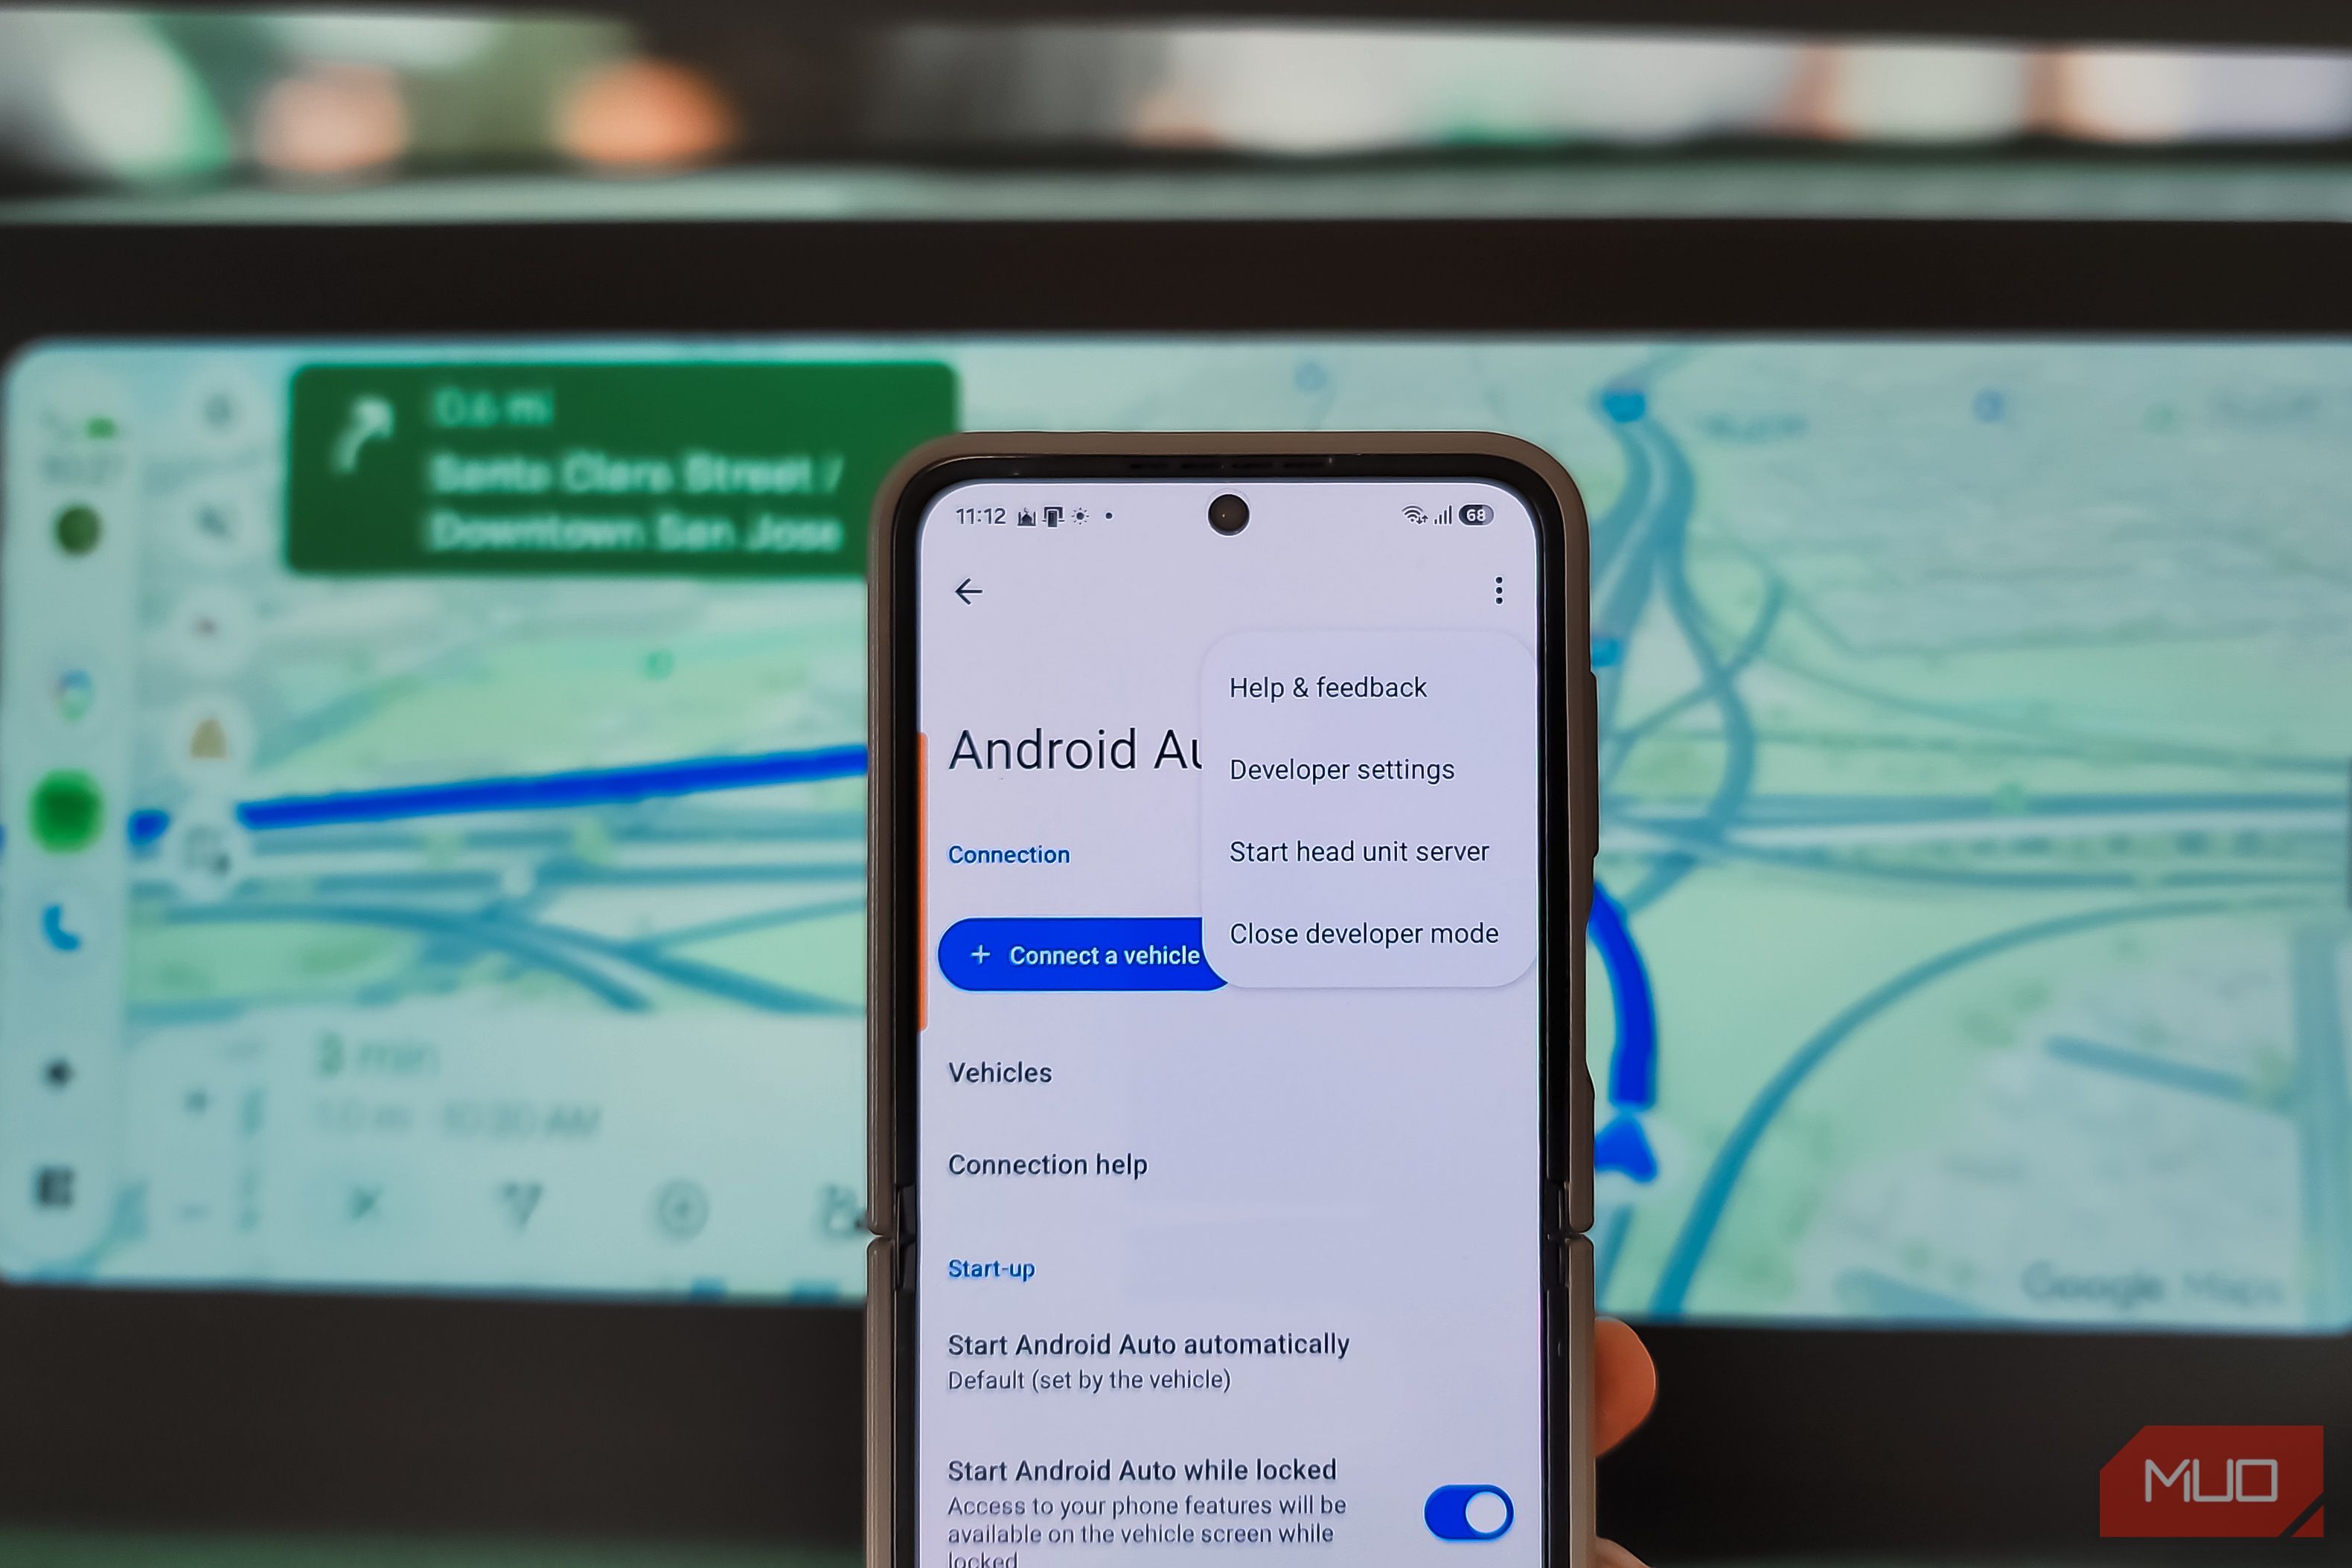
Stop Android Auto Battery Drain: Essential Features to Disable and
Android Auto offers unparalleled convenience, bringing your phone's most useful features directly to your car's display. From navigation and calls to messages and music, it keeps you connected without distracting you