
Build a Powerful Homelab from Secondhand Gear
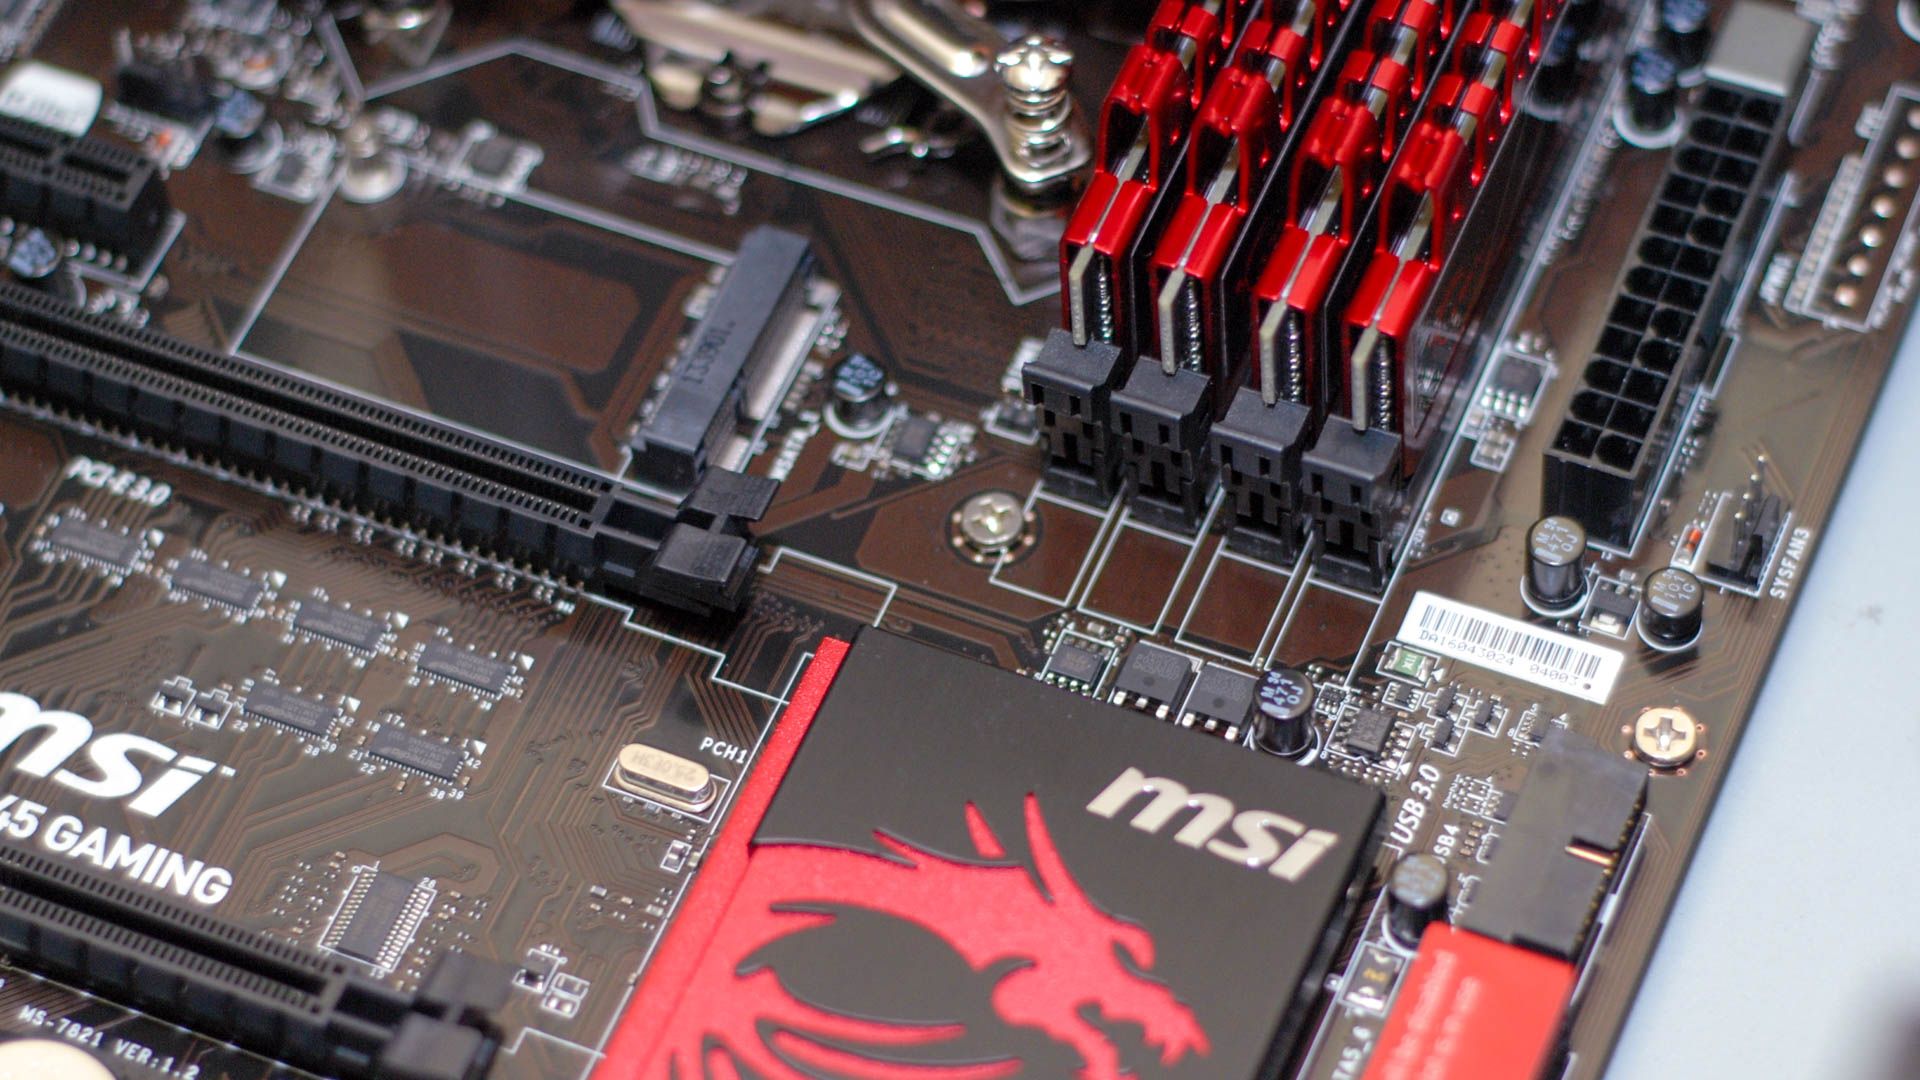
Introduction: Why Secondhand Gear is Your Homelab's Best Friend Starting your homelab journey doesn't require breaking the bank on a brand-new Network Attached Storage (NAS) unit. While convenient, a new NAS often
Introduction: Why Secondhand Gear is Your Homelab's Best Friend
Starting your homelab journey doesn't require breaking the bank on a brand-new Network Attached Storage (NAS) unit. While convenient, a new NAS often limits what you can do and learn. Instead, building a homelab from secondhand computer components offers a powerful, flexible, and surprisingly cost-effective alternative. This guide will walk you through transforming used hardware into a robust homelab, teaching you invaluable technical skills along the way that a simple 'click-and-go' NAS could never provide. You'll learn to troubleshoot, optimize, scale, and ultimately self-host almost anything you can imagine.
Prerequisites: What You'll Need
Before diving in, gather the following:
- Secondhand Computer Components: An old desktop PC (e.g., an Intel i5 machine), server drives, spare RAM sticks, a graphics card (optional but useful for transcoding), and network interface cards (NICs).
- Basic Computer Knowledge: Familiarity with hardware assembly and software installation. A willingness to learn and troubleshoot is essential.
- Patience: Expect challenges; each one is a learning opportunity.
- A Vision: What do you want to self-host? Having a goal helps guide your build.
Step 1: Procure Your Homelab's Foundation
Your first task is to find the core components for your homelab. Don't underestimate older hardware; a 5-year-old gaming PC can often outperform even high-end new NAS units after some optimization. Look for:
- A Base System: An old Intel i5 PC or similar-era desktop makes an excellent starting point. These often have sufficient processing power for many self-hosted services.
- Storage Drives: Seek out used server drives. You'll want multiple drives for redundancy (e.g., two drives for a RAID 1 setup). Hard drives with clicking sounds might indicate failure, so listen carefully.
- Memory (RAM): More RAM is almost always better for a homelab, especially when running virtual machines or multiple containers. Look for compatible RAM to upgrade your base system (e.g., from 4GB to 16GB).
- Optional Upgrades: Consider a secondhand GPU (like an ATI Radeon 4890) if you plan on tasks like video transcoding. A dedicated NIC can provide faster networking or additional ports if your motherboard's integrated ports are insufficient.
Step 2: Assemble Your Homelab and Initial Boot
Once you have your components, it's time to put them together. This step is where initial troubleshooting skills come into play.
- Physical Assembly: Install the CPU, RAM, storage drives, and any expansion cards (GPU, NIC) into your chosen motherboard and case. Ensure all connections are secure.
- First Boot-Up: Power on your system. This is often where "weird boot issues" can arise. Listen for POST beeps or observe error messages.
- Initial Troubleshooting: If it doesn't boot, systematically check connections. If you encounter bent CPU pins, assess if they are fixable or a dealbreaker. Identifying whether a clicking sound is a failing fan or a dying hard drive is a critical early diagnostic skill. Fixing these initial problems teaches you much about a computer's fundamental operations.
Step 3: Choose Your Operating System and Software Stack
With secondhand hardware, careful software selection is key to maximizing performance. You won't have the luxury of a powerful, brand-new system to run anything without thought.
- Install a Hypervisor OS: For any serious homelab, a hypervisor like Proxmox should be your starting point. This allows you to run multiple operating systems and services in virtual machines (VMs) or containers on a single physical machine.
- Select Lightweight Operating Systems: Since you're working with older hardware, be selective. Choose lightweight Linux distributions or optimize your chosen OS to avoid unnecessary background processes.
- Understand Containers vs. VMs: Learn the difference. In most homelab scenarios, containerization (using Docker, for example) is a more efficient choice than full VMs, especially for individual services, as containers share the host OS kernel and use fewer resources.
- Explore Storage File Systems: Gain knowledge about different file systems (e.g., ZFS, Btrfs, ext4) and how they impact performance, data integrity, and features for your specific storage needs.
Step 4: Master Hardware Troubleshooting and Repair
One of the most valuable lessons from a secondhand homelab is becoming proficient in diagnosing and fixing hardware problems. New hardware often sidesteps this learning curve, but older gear demands it.
- Noise Identification: Learn to distinguish between a bad fan and a failing hard drive by sound. This can save your data from impending doom.
- Component Repair: Experiment with fixing components like an old GPU for transcoding. This teaches you about component-level diagnostics and repair.
- Boot Issues: Systematically work through boot problems, from power supply issues to RAM faults or corrupted bootloaders. Each fix builds your diagnostic muscle, enabling you to tackle almost any computer problem.
Step 5: Scale Your System for Future Needs
Unlike most NAS units with limited upgrade paths, a DIY homelab offers incredible adaptability. Learn to build around what you have, rather than replacing everything.
- Memory Upgrades: Easily add more RAM as your needs grow. This is often the simplest and most impactful upgrade.
- GPU Integration: If you need hardware acceleration for tasks like media transcoding (e.g., with Jellyfin), integrate a compatible GPU.
- Networking Expansion: Need faster network speeds or more Ethernet ports? Add a PCIe Network Interface Card (NIC) to your system.
- Storage Expansion and Redundancy: Expand your storage by adding more drives. Implement RAID (Redundant Array of Independent Disks), such as RAID 1 for mirroring two drives for data redundancy, ensuring your data survives if one drive fails.
Step 6: Unleash Your Self-Hosting Potential
With your custom-built homelab, you're no longer confined by proprietary software or limited app stores common in commercial NAS units. You've gained the skills to self-host virtually anything.
- Freedom to Install: Because you understand the hardware and software intricacies, installing new services is straightforward. This could be anything from a new game server to a cloud storage alternative like NextCloud, or a media server like Airsonic or Jellyfin.
- Simplicity of Deployment: Often, deploying a new service is as simple as creating a new container, cloning a GitHub repository, and running a script.
- Beyond Backup: While a NAS primarily serves as a backup solution, your homelab is a versatile platform capable of running complex applications, virtual machines, and a wide array of services simultaneously.
Next Steps
Congratulations on building your powerful homelab! The learning doesn't stop here. Continue to:
- Experiment: Try out new self-hosted services and applications.
- Optimize: Continuously refine your system's performance and resource usage.
- Document: Keep notes on your setup, configurations, and troubleshooting steps for future reference.
- Explore: Dive deeper into advanced topics like network security, advanced RAID configurations, or container orchestration with Kubernetes.
FAQ
Q: Why choose old parts over a new NAS for a homelab?
A: Building a homelab from secondhand parts offers several key advantages: you gain invaluable skills in hardware troubleshooting, software optimization, and system scalability; you can build a more powerful and flexible system for less cost; and you're not restricted by vendor-specific applications, allowing you to self-host a much wider array of services and truly master what's happening 'under the hood.' An optimized secondhand PC can often outperform top-shelf NAS units.
Q: What is a 'Franken-NAS'?
A: A 'Franken-NAS' is a popular term in DIY storage communities for a Network Attached Storage system that has been cobbled together from mismatched, salvaged, or repurposed parts from various old machines. It's often seen as a badge of honor, representing ingenuity and cost-effectiveness in creating a functional storage solution.
Q: Older Raspberry Pi models faced bottlenecks with shared USB and Ethernet buses. How does a secondhand PC homelab overcome such limitations?
A: While older Raspberry Pi models suffered from a shared USB 2.0 bus for both USB ports and the Ethernet adapter, a secondhand PC typically offers dedicated PCIe slots. This allows you to add separate, high-speed Network Interface Cards (NICs) and dedicated SATA controllers, completely bypassing such bottlenecks. This architectural advantage ensures significantly higher file transfer speeds, better overall performance, and much greater scalability for your homelab.
Related articles

TCG Pocket Responds: A Much-Needed Pace Shift for Pokémon Fans
Pokémon TCG Pocket is rolling out a major update for its second anniversary, primarily addressing player concerns about overwhelming content releases by shifting to a six-week set schedule. This aims to curb player decline and improve overall engagement by giving trainers more time to collect and strategize. The update also adds new collection methods, improved deck-building features, and enhanced trading functionality.
Ditch Merge & Center: The Better Way to Align Text in Excel
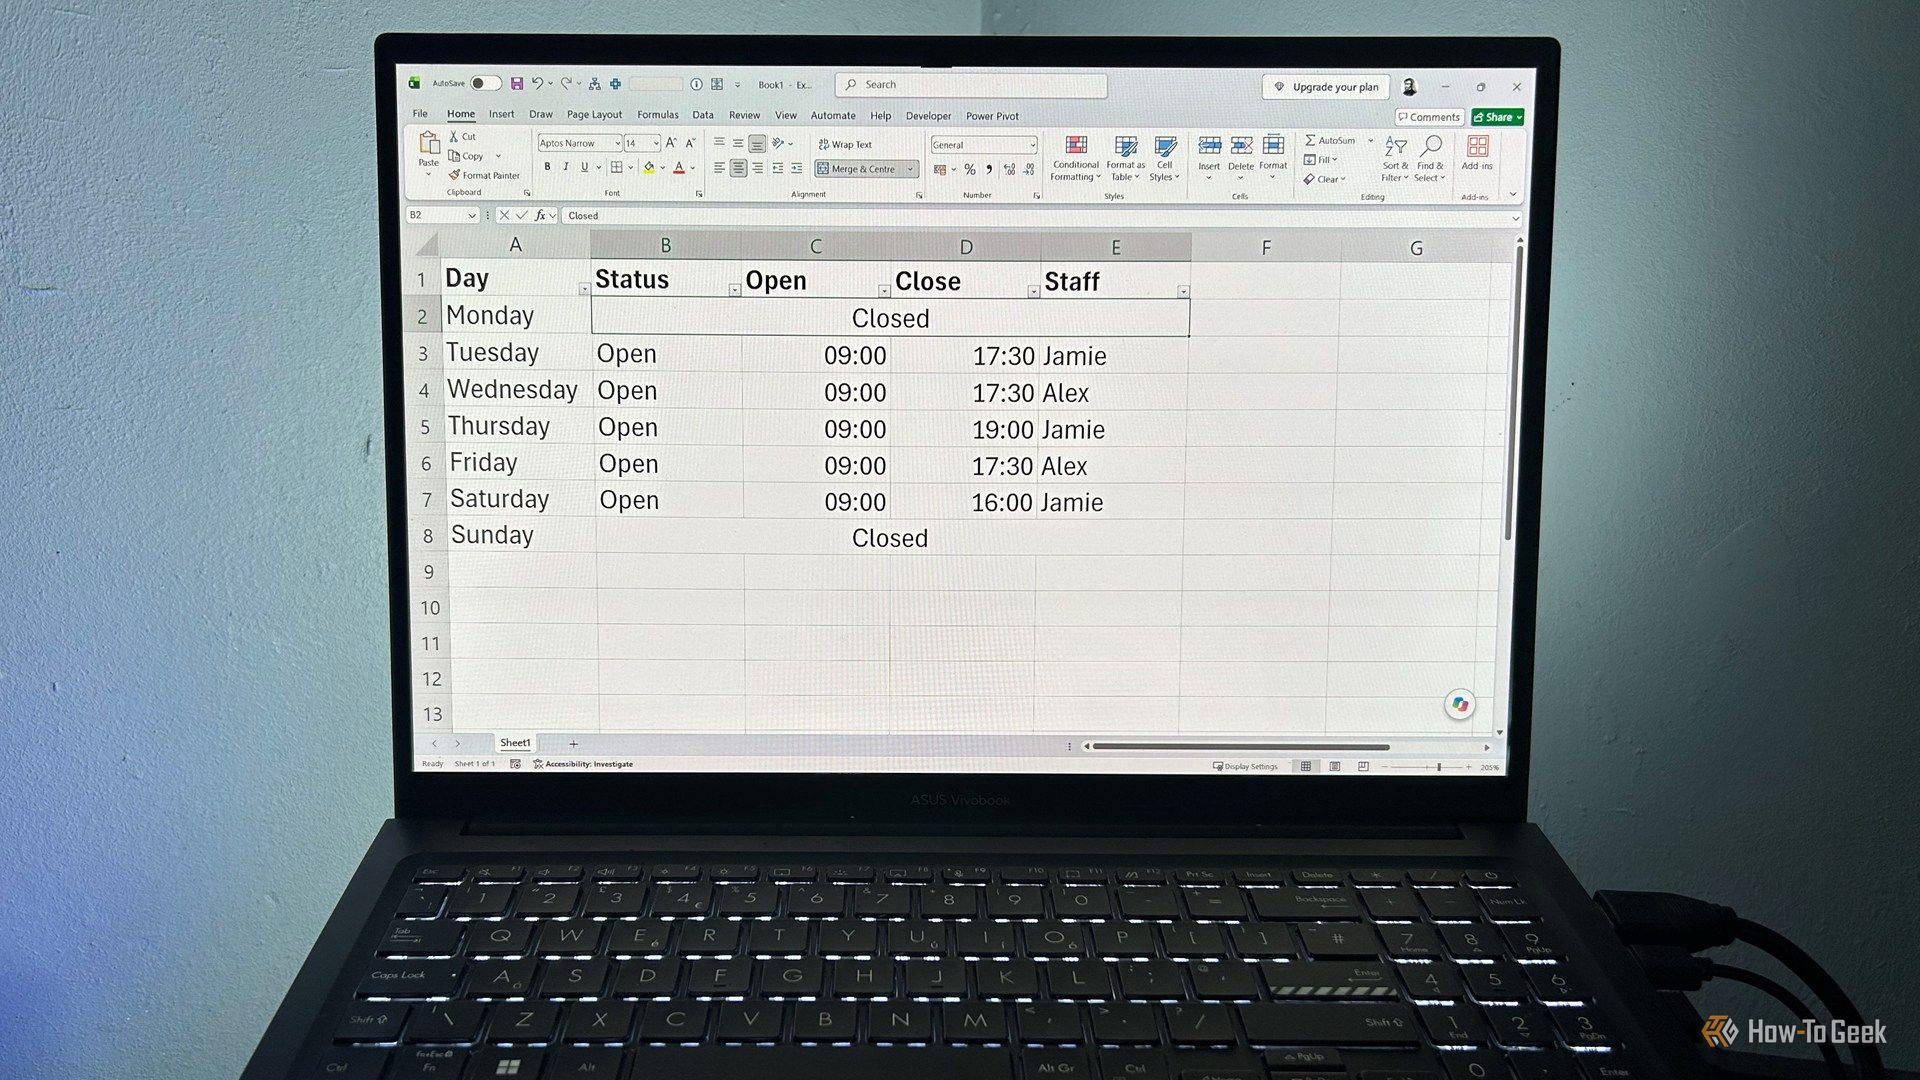
Learn to use Excel's "Center Across Selection" to align text across cells without merging, avoiding common data manipulation issues. This guide provides steps to utilize this newly accessible feature and add it to your Quick Access Toolbar.

Kojima Compares Divisive New Film 'Digger' to MGS2's Prescient Vision
Gaming icon Hideo Kojima has praised the divisive 2026 film *Digger*, drawing intriguing parallels to his own prophetic game, *Metal Gear Solid 2*. Both works, he explains, uniquely explore the dangers of misinformation and a fragmented digital reality, anxieties he shares with *Digger*'s director, Alejandro González Iñárritu.
Galaxy Watch One UI 9 Beta: Promising Progress, But Patience Needed
Galaxy Watch 8, Watch Ultra, and Watch 7 are receiving a new One UI 9 Watch beta build with bug fixes and a security patch. Active development signals progress, but a stable release date remains elusive.

regional: ‘What is fusion?’ Helion Energy harnesses the power of
Helion Energy, the Everett-based fusion startup, gained mainstream attention this week after being featured as a clue on the popular game show "Jeopardy!". The $800 clue, part of a "Y Combinator" category, highlighted Helion's mission to build the first fusion power plant, bringing the concept of clean energy to a wider audience. CEO David Kirtley celebrated the "surreal" moment as a sign that reliable clean power is becoming more accessible.
Stop Android Auto Battery Drain: Essential Features to Disable and
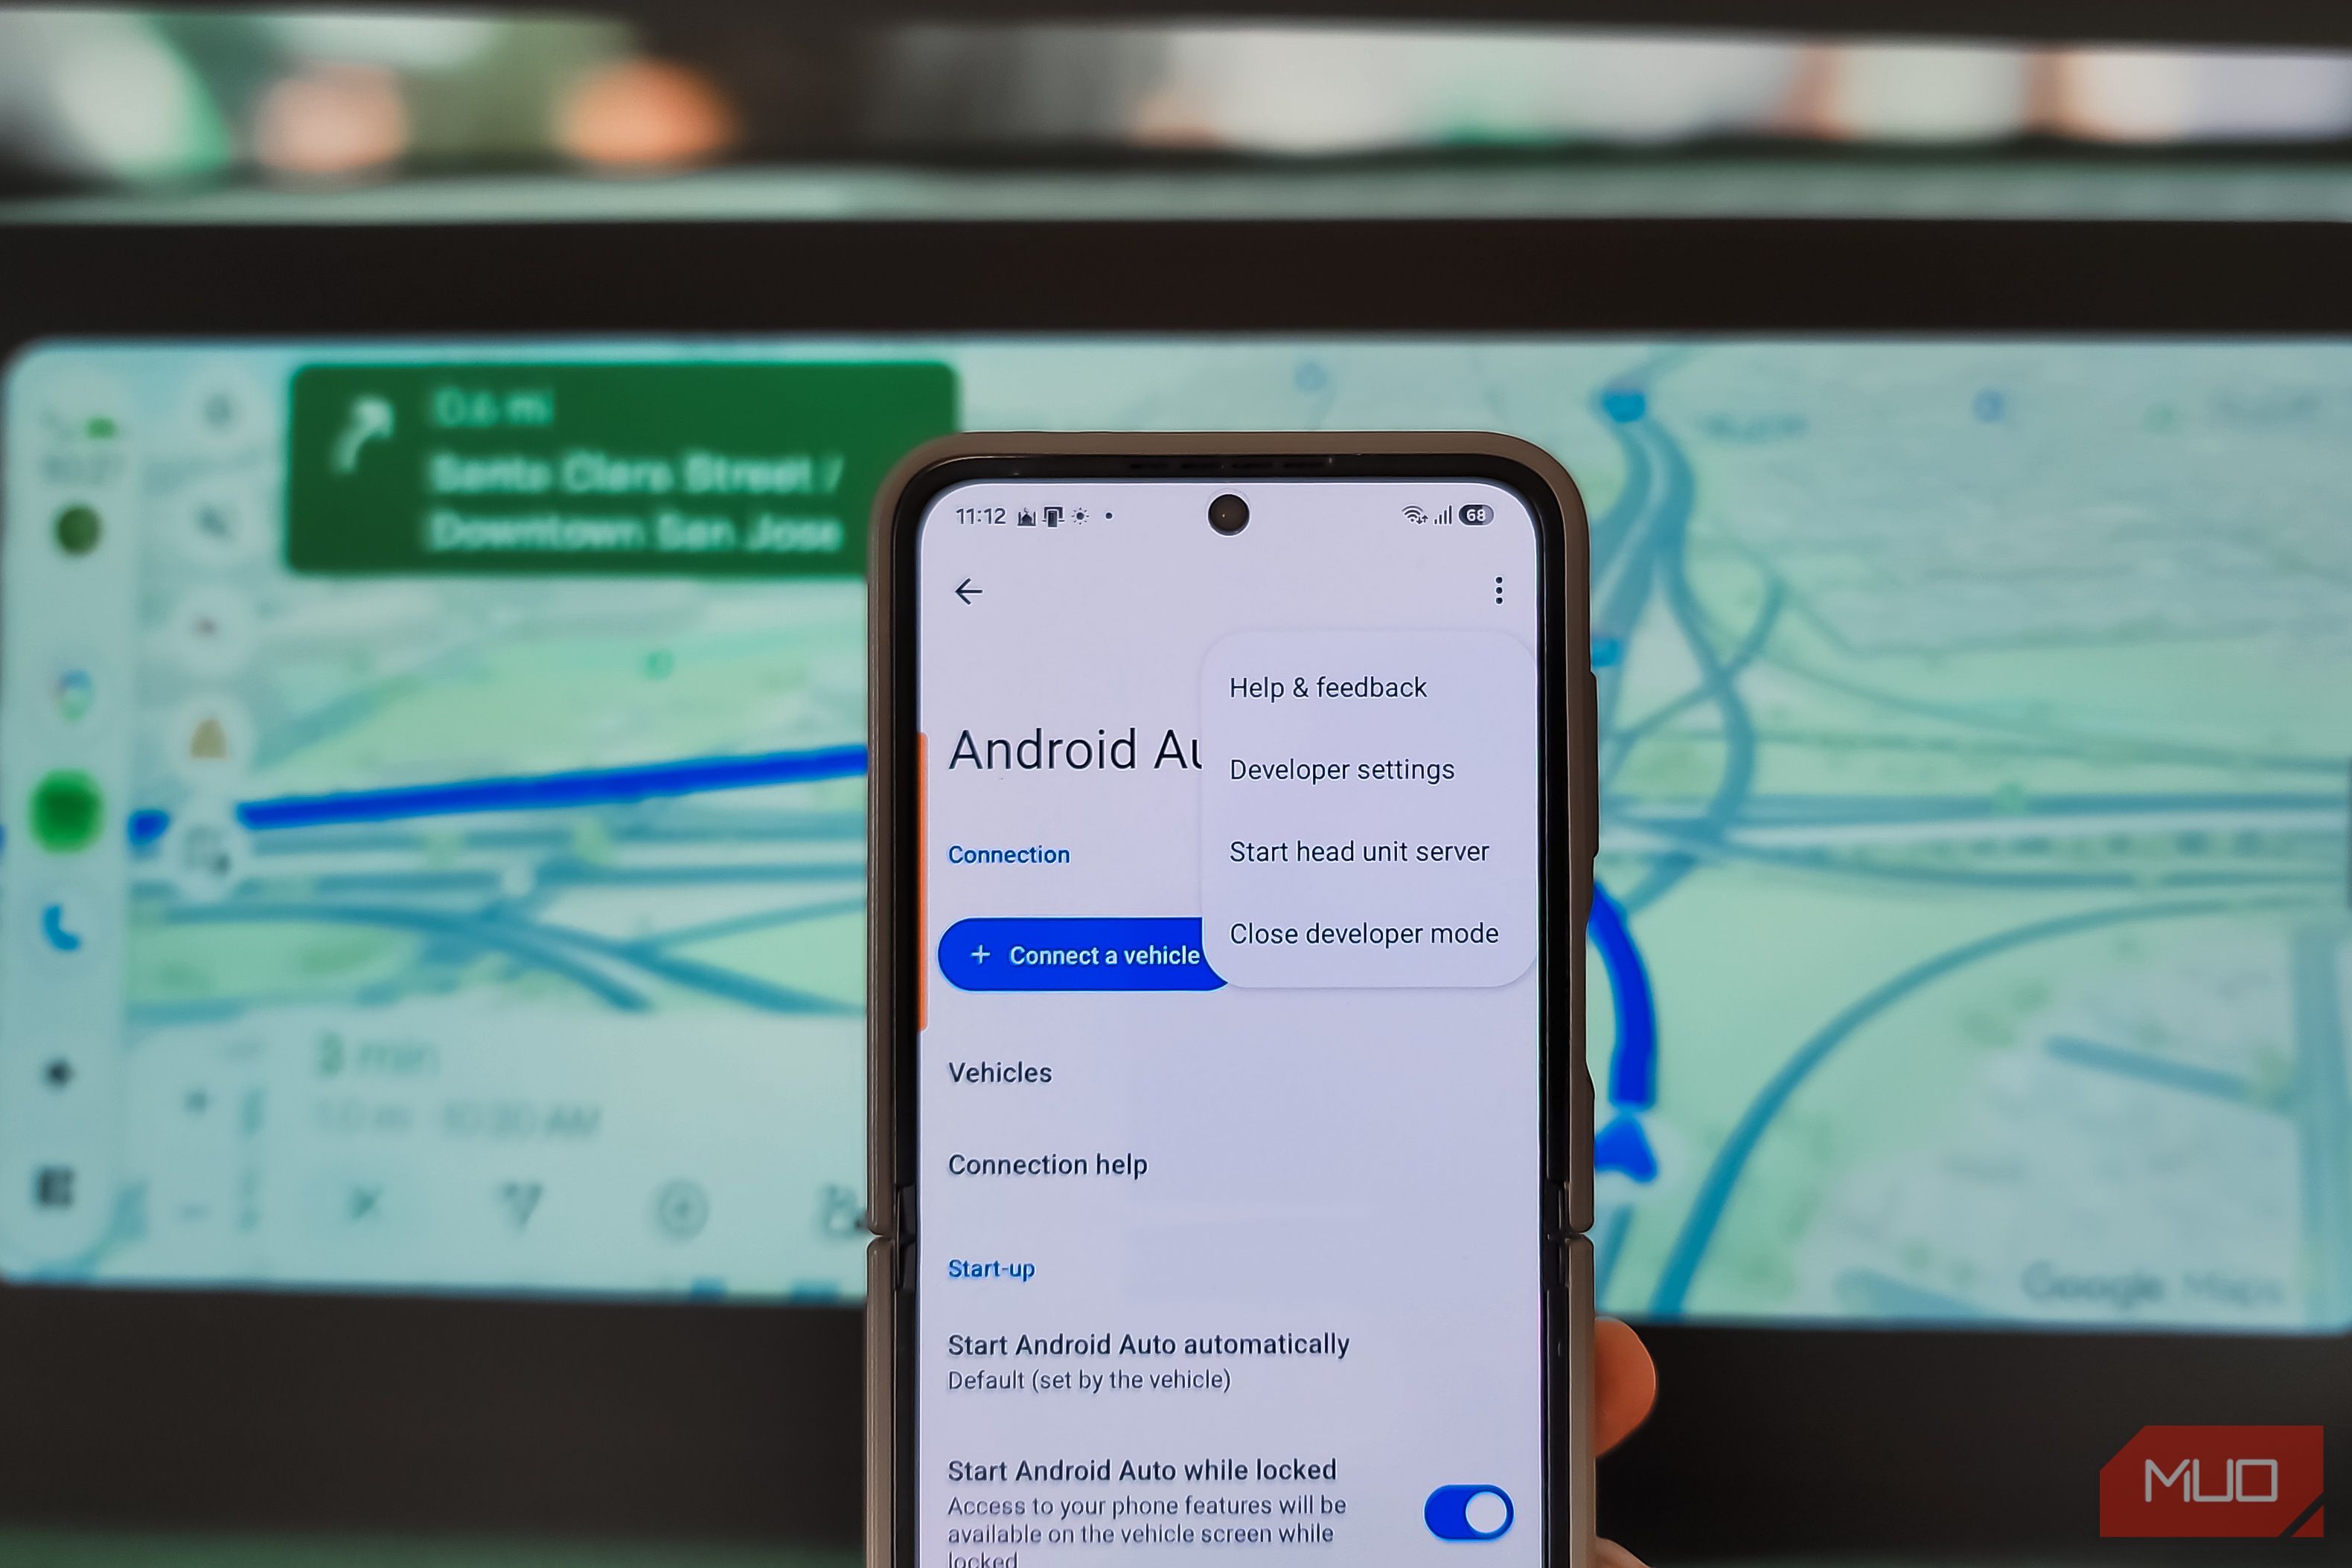
Android Auto offers unparalleled convenience, bringing your phone's most useful features directly to your car's display. From navigation and calls to messages and music, it keeps you connected without distracting you