
5 Smart Ways to Repurpose Your Old or Broken 3D Printer
Discover 5 resourceful ways to repurpose your old or broken 3D printer, from converting it into a laser engraver to building a filament dryer, saving valuable components, or creating a working printer from two broken units.
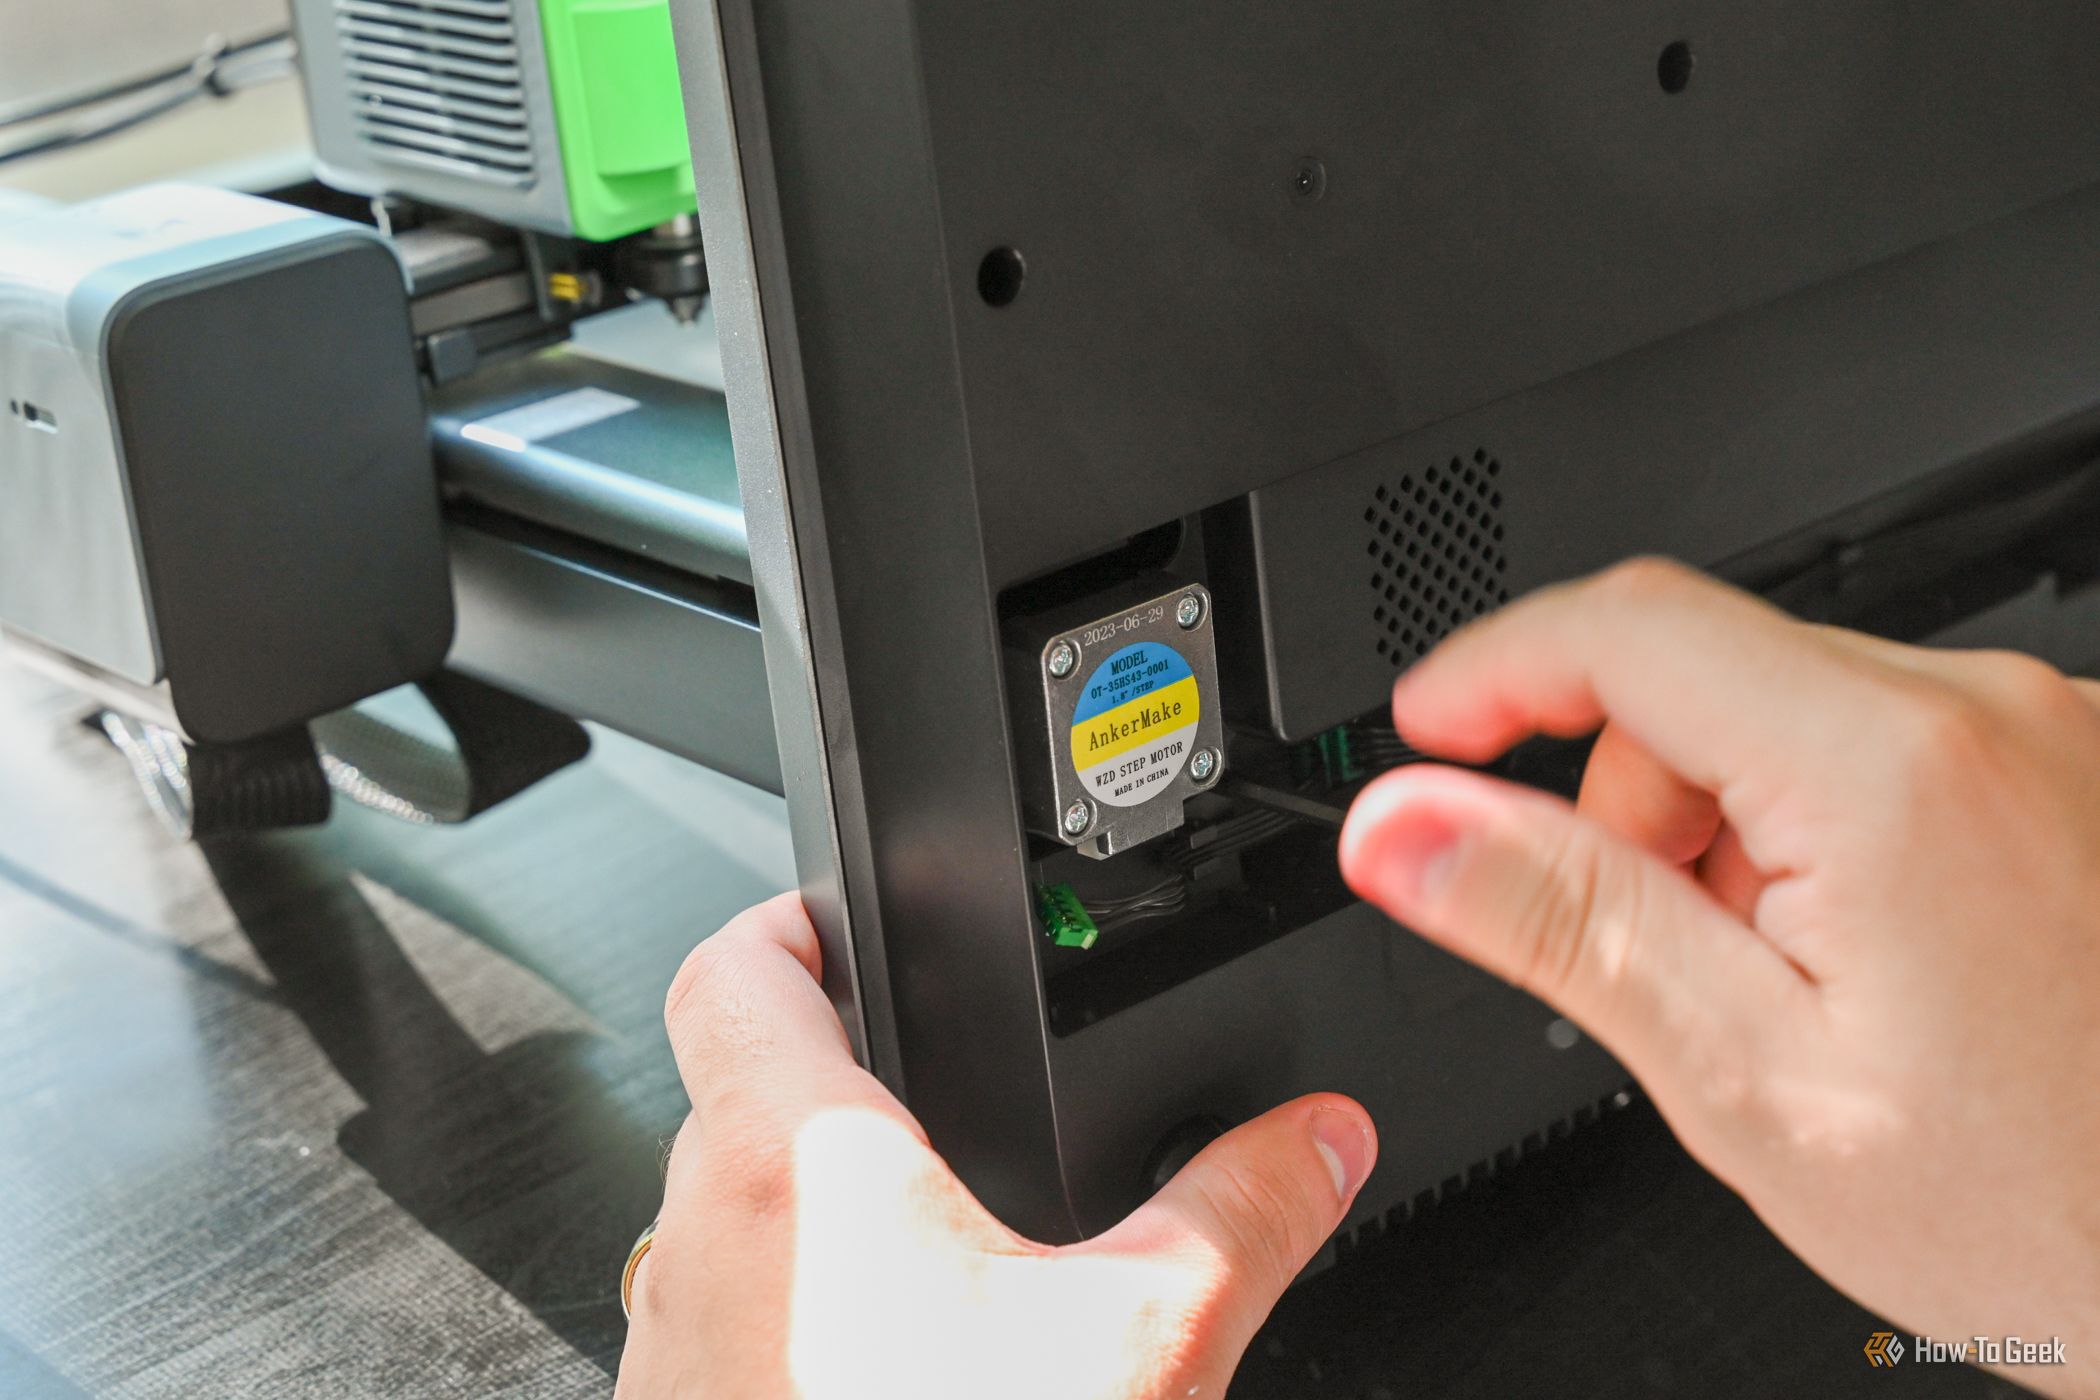
Is an old or malfunctioning 3D printer taking up space in your workshop? Don't toss it! While 3D printing technology advances rapidly, making even relatively new machines feel outdated, many components of your old printer still hold significant value. Instead of just getting scrap value, you can give your machine a new lease on life, learn new skills, and even create other useful tools.
This guide will walk you through five practical ways to repurpose your old or broken 3D printer, transforming it from a dusty relic into a functional asset.
What You'll Accomplish
By following these methods, you'll learn how to:
- Convert your printer's frame into a completely different type of machine.
- Salvage valuable stepper motors for new projects.
- Turn a functional heated bed into an efficient filament dryer.
- Extract and reuse or sell various electronic components.
- Combine parts from two broken printers to create one working unit.
Prerequisites
To successfully repurpose your 3D printer, you'll generally need:
- An old or broken 3D printer (with some salvageable parts).
- Basic DIY and mechanical skills.
- Common tools like screwdrivers, wrenches, and wire cutters.
- (For certain projects) Basic electronics knowledge (e.g., Arduino, Raspberry Pi).
- Patience and a willingness to learn.
5 Ways to Repurpose Your Old or Broken 3D Printer
1. Convert it into a Different CNC Machine
At its core, a 3D printer is a specialized robot designed for precise movement within a three-dimensional space. The extrusion head is just one type of “end-effector.” With a bit of ingenuity, you can transform the existing frame and motion system into a completely different computer numerical control (CNC) machine.
What you can make:
- Laser Engraver: Replace the print head with a laser module to etch designs onto various materials.
- CNC Mill: Attach a small milling tool to carve or cut soft materials like wood or plastic.
- Pen Plotter: Swap the hotend for a pen holder to create intricate drawings or circuit board traces.
Steps to Consider:
- Research: Look for existing conversion guides, such as converting a 3D printer into a CNC machine on platforms like Instructables, to understand the scope and challenges.
- Acquire a New End-Effector: Purchase or create a module for your desired function (e.g., laser, mill, pen holder).
- Modify Software/Firmware: You'll likely need to flash new firmware or use different control software to operate the new end-effector and motion system.
- Test and Calibrate: Fine-tune movements and operations for accuracy.
This path is an excellent learning experience, even if the resulting machine isn't commercially perfect. It's often much more affordable than buying a dedicated multi-function machine.
2. Salvage the Stepper Motors
Stepper motors are one of the most valuable and universally useful components in your 3D printer. These electric motors are designed for precise, incremental movements and don't typically require complex sensors to track their position. This makes them ideal for a vast array of DIY electronics projects.
Why save them?
- Precision: Perfect for projects requiring controlled, accurate motion.
- Affordability: Using salvaged motors saves you the cost of purchasing new ones.
- Versatility: Adaptable to countless applications.
Project Ideas:
- Robots: Build small robotic arms, wheeled robots, or automated platforms.
- Automated Devices: Create automatic pet feeders, camera sliders, or rotating display stands.
- Custom Camera Rigs: Develop precise panning and tilting mechanisms for photography or videography.
When dismantling your printer, prioritize carefully removing and storing these motors; they're gold for future tinkering.
3. Transform it into a Filament Dryer
Moisture absorption is a common problem for 3D printer filament, leading to poor print quality. While dedicated filament dryers exist, you can convert an old, enclosed 3D printer with a heated bed into an effective drying solution.
Steps to Create a Filament Dryer:
- Prepare the Spool: Place your filament spool on a cardboard stand or its original box with vent holes cut into the top. This elevates the spool from the heated bed, allowing for better air circulation.
- Set Bed Temperature: Manually set the heated bed to a temperature appropriate for your filament type. Generally, 50-65°C is effective for most common filaments like PLA and PETG. Consult your filament's specifications for precise drying temperatures.
- Heat and Dry: Close the printer enclosure and leave the filament to dry for five to six hours. For printers with an exhaust fan, consider setting it to a low manual speed to help remove released moisture from the chamber.
This conversion is economically sensible because a printer's chamber is often large enough to dry multiple rolls simultaneously, making it a more efficient option than some smaller, dedicated dryers, and it frees up your main printer for actual printing tasks.
4. Reuse or Sell the Electronics and Components
Beyond the stepper motors, your old 3D printer is a treasure trove of standard, off-the-shelf components that can be reused in other projects or sold as spare parts.
Components to Salvage:
- Fans: Useful for cooling various electronics projects.
- Switches: Limit switches, power switches, etc., can be integrated into custom setups.
- Control Boards: While specific to 3D printing, they can sometimes be repurposed or their microcontrollers used for other automation tasks.
- Screens: Small LCD or OLED screens can be used in other embedded systems.
- Connectors and Wiring: Often generic and useful for future wiring needs.
- Sensors: Thermistors, proximity sensors, etc., can find new homes in different projects.
What to do with them:
- DIY Projects: Pair these components with microcontrollers like Arduino or Raspberry Pi to build custom gadgets, home automation systems, or robotics projects.
- Sell as Spares: Even if you can't use them, someone else might! List components or even simple metal frame pieces online. Many enthusiasts are looking for affordable spare parts for older or discontinued 3D printer models.
5. Build One Working Printer from Two Broken Ones
If your current 3D printer is broken but still a model you'd like to use, consider a classic repair strategy: combining two broken units to make one functional one. This is particularly useful if a single expensive part has failed, and buying a new printer isn't in the budget.
Steps:
- Identify the Fault: Determine what's broken in your current printer (e.g., print head, specific motor, control board).
- Acquire a Donor Unit: Look for another broken unit of the same or a highly compatible model online (e.g., on auction sites or community forums). Often, these can be purchased very cheaply.
- Disassemble and Assess: Carefully take apart both printers, identifying which components are functional in each.
- Assemble a Working Unit: Combine the good parts from both machines to create a single, fully functional 3D printer.
- Keep Spares: Any remaining functional parts from the donor printer can be kept as future spares or salvaged for electronics projects, as described in method 4.
This approach can significantly extend the life of your 3D printing capabilities without the expense of a brand-new machine.
Next Steps
Repurposing your old 3D printer opens up a world of DIY and electronics projects. Consider diving deeper into:
- Learning more about Arduino or Raspberry Pi programming.
- Exploring advanced CNC machine operation or laser safety.
- Joining online communities for sharing project ideas and troubleshooting.
FAQ
Q: What kind of 3D printer is best suited for conversion into a filament dryer? A: An enclosed 3D printer with a functional heated bed is ideal. The enclosure helps maintain a consistent temperature, and the heated bed provides the necessary warmth for drying. An exhaust fan, if controllable, is also a bonus for moisture removal.
Q: Do I need advanced electronics knowledge to repurpose these parts? A: For basic salvage and resale, minimal electronics knowledge is needed. However, to integrate components like stepper motors or control boards into new projects (e.g., with Arduino or Raspberry Pi), some understanding of electronics, wiring, and basic programming will be very beneficial. Many online tutorials and communities can help you learn.
Q: Are parts from different 3D printer brands or models typically interchangeable if I want to combine two broken units? A: Generally, parts from different brands or even significantly different models from the same brand are not directly interchangeable without significant modification. For the best chance of success, look for an identical model or a very close variant when seeking a donor unit to combine broken printers. Even then, you may encounter minor compatibility issues.
Related articles

Apple Unveils iPhone Duo: Pricey Foldable Sees Soaring Demand
Apple has officially entered the foldable smartphone arena with the long-anticipated launch of the iPhone Duo. Priced starting at a hefty $1,999, the device features a 5.4-inch outer display and a larger 7.6-inch inner

DJI Solo Video Setups: Smart Choices for Lone Creators
This review delves into DJI's recommended solo video setups, highlighting the Osmo Pocket 3 Creator Combo as a top pick for its integrated camera, gimbal, and mic. It also covers stabilizers like the Osmo Mobile 8 and RS 4, and the DJI Mic Mini series for enhanced audio, providing honest pros, cons, and clear buying advice.
Ditch Merge & Center: The Better Way to Align Text in Excel
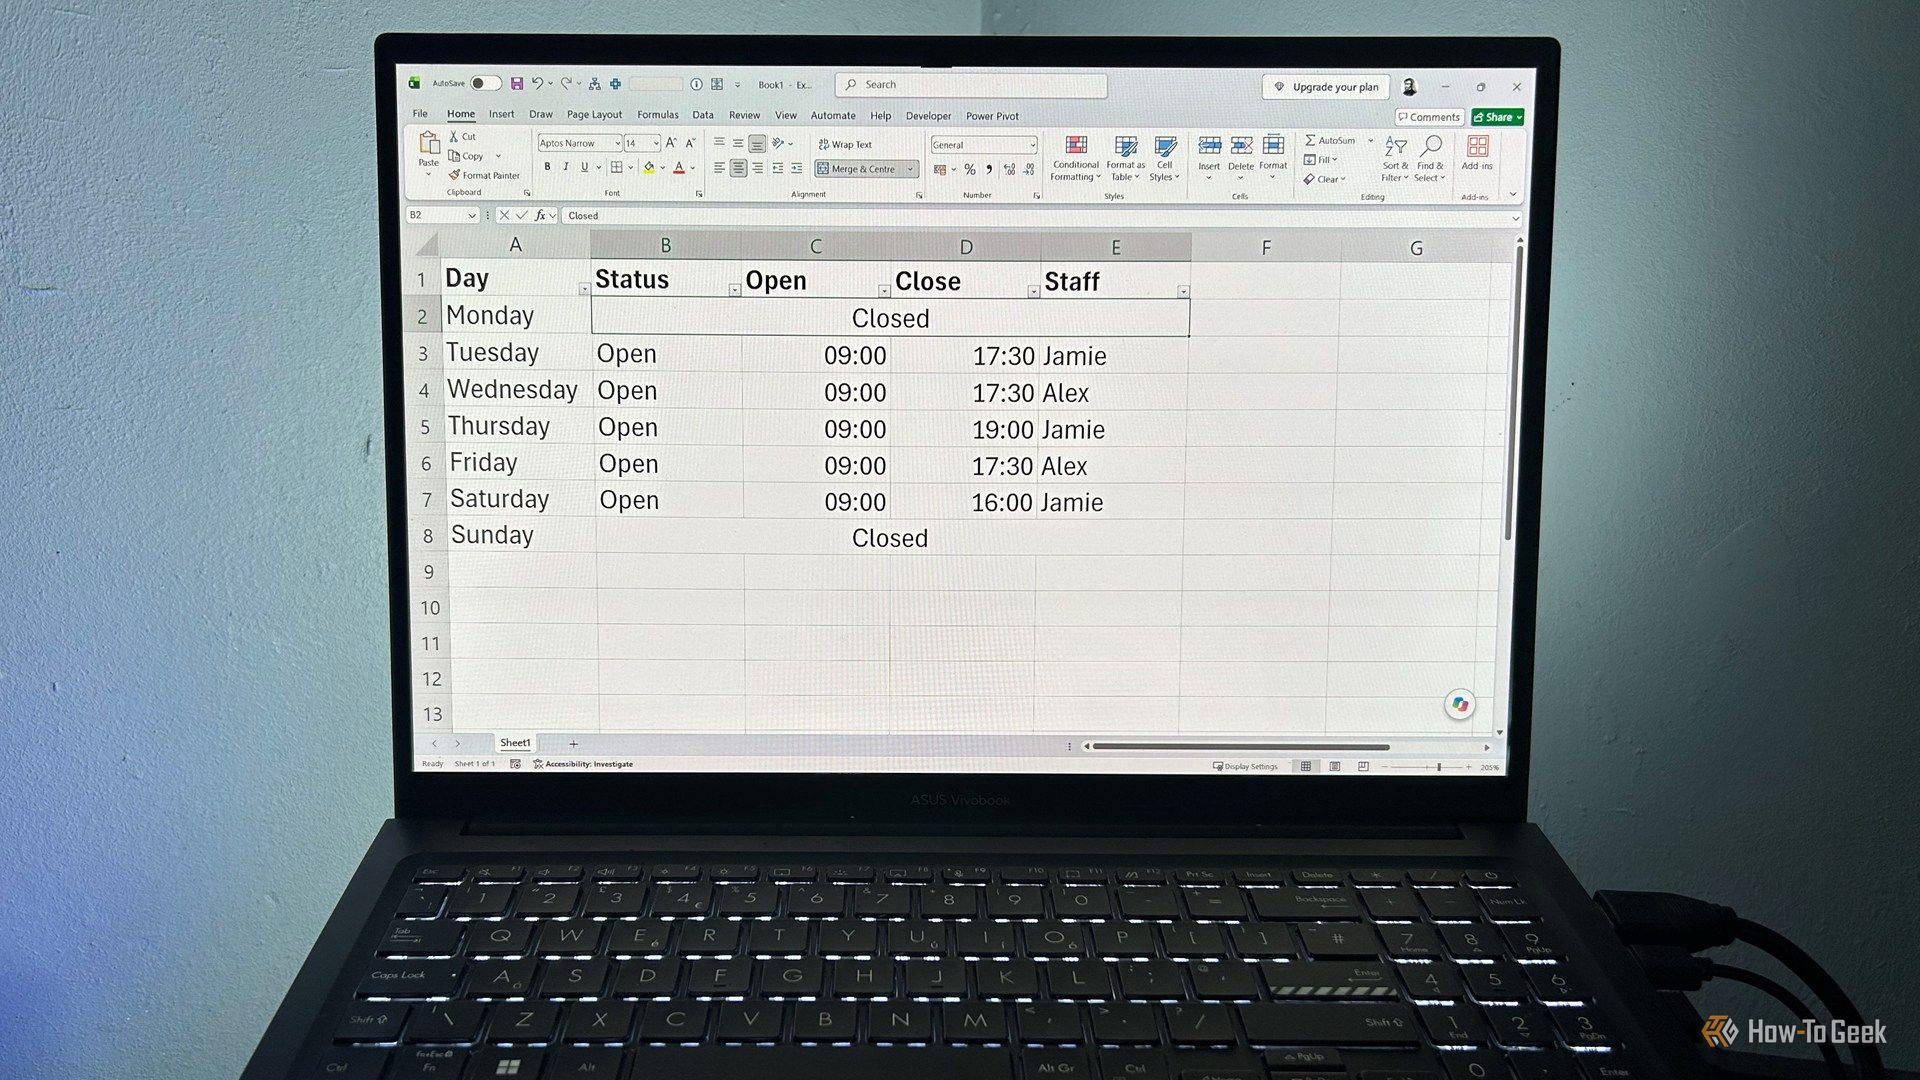
Learn to use Excel's "Center Across Selection" to align text across cells without merging, avoiding common data manipulation issues. This guide provides steps to utilize this newly accessible feature and add it to your Quick Access Toolbar.

Ars Technica's Rocket Report: Your Essential Space Industry Briefing
Quick Verdict Ars Technica's Rocket Report, presented by veteran space reporter Stephen Clark, offers an invaluable and meticulously organized weekly (or similar frequency, implied by "Edition 9.15") digest of the most

Stop Android Auto Battery Drain: Essential Features to Disable and
Android Auto offers unparalleled convenience, bringing your phone's most useful features directly to your car's display. From navigation and calls to messages and music, it keeps you connected without distracting you

Apple’s new HomeView smart display is $10 cheaper at Amazon: latest
In a rare move for a new Apple product, the highly anticipated HomeView smart display is already available at a discount on Amazon, weeks before its official launch. Consumers can now pre-order Apple's first dedicated